

Deploy Front-end Service
This page describes how to deploy a Front-end Service.
-
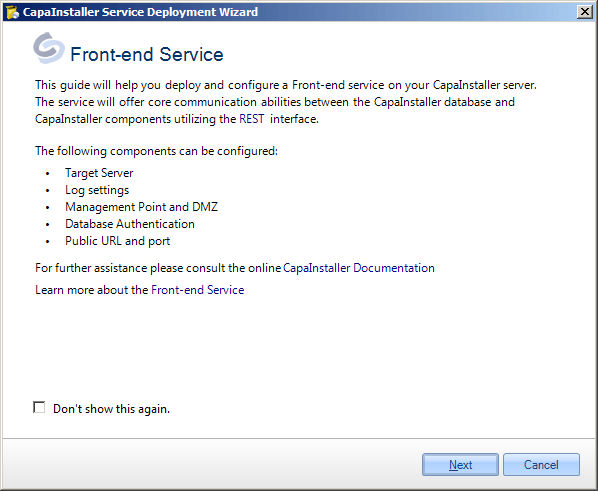
In System Administration, expand Services, right-click Front-end Service, and select Deploy Front-end Service….

The deployment wizard opens.
-
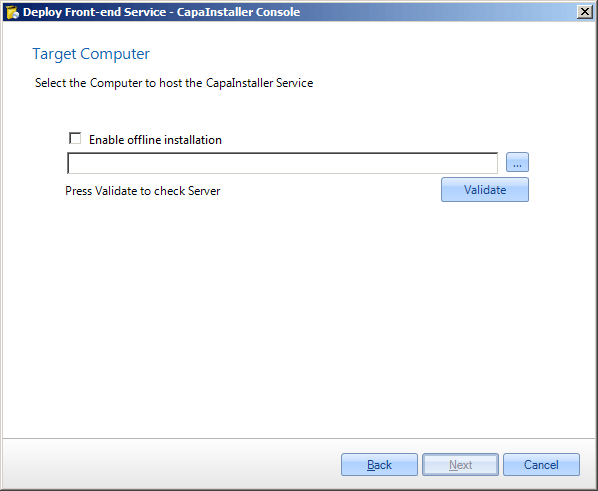
Enter the name of the target server and click Validate. To deploy offline, select Enable offline installation.
-
Enter the Internal Url(s) that the service listens on, including the port. The default port is
5021. If agents must connect from outside the firewall, also enter the Public Url(s). Enter one URL per line in prioritized order. The first URL is used in the agent configuration, and the next URLs are used if the first one isn’t available. If you use anhttps://URL, select an SSL Certificate.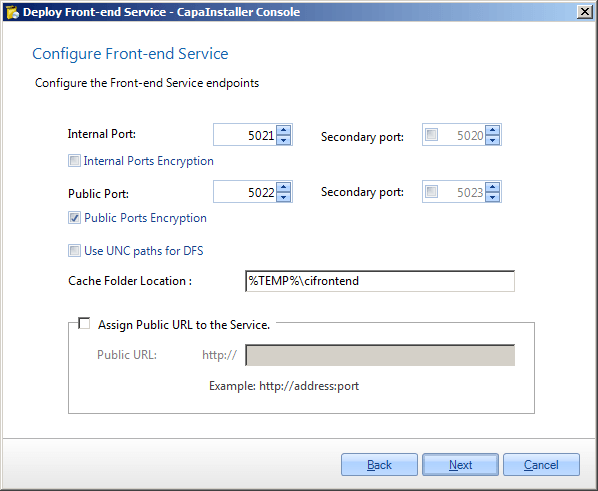
-
Change the cache folder location if needed. The default is
%TEMP%\cifrontend. -
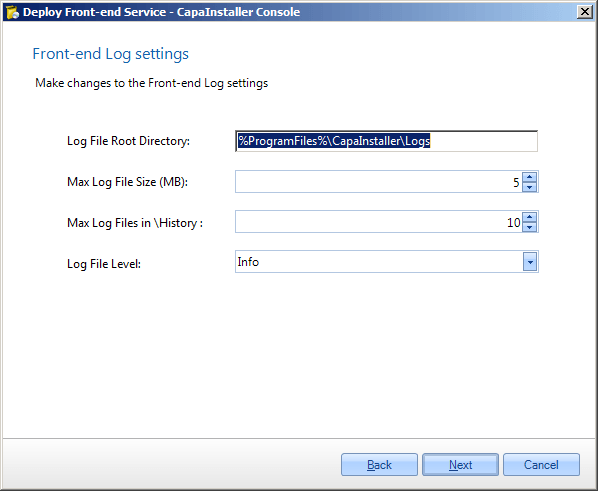
Change the log settings if needed, or use the defaults.
-
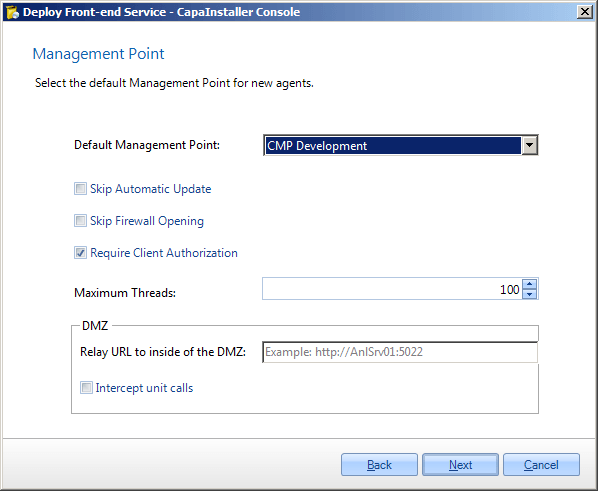
Select the Default Management Point. New computers and devices without a specific enrollment configuration are enrolled to this point. If the service is placed in a DMZ, enter the Relay URL to inside of the DMZ. See Relaying files.
-
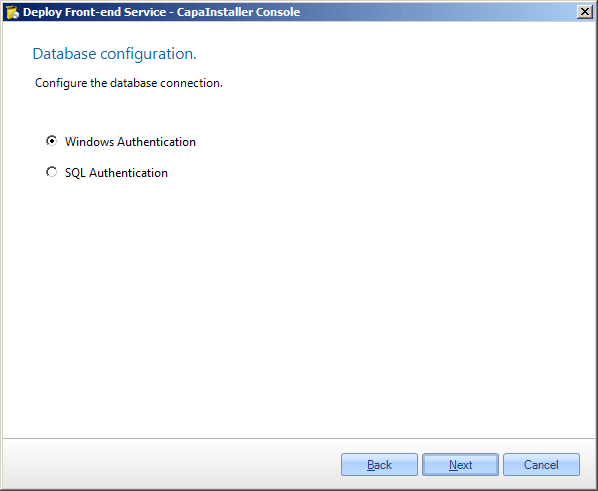
Select how the service connects to the database. Windows authentication is recommended, but you can also use SQL server authentication. For offline deployment, SQL server authentication is recommended.
-
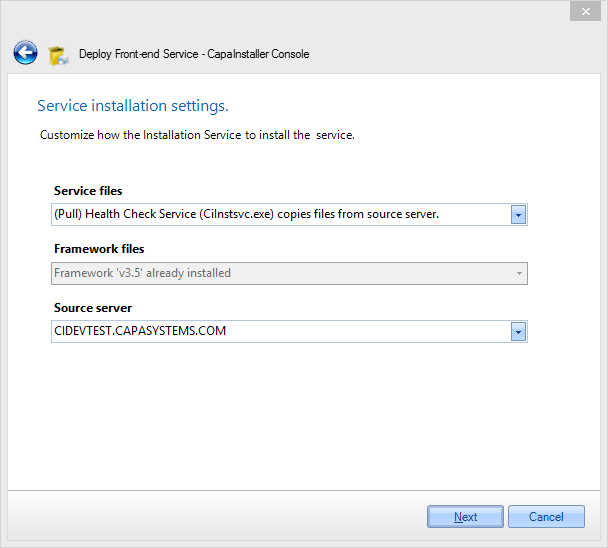
Select how the service files and the framework files are copied to the target server, and select the source server.
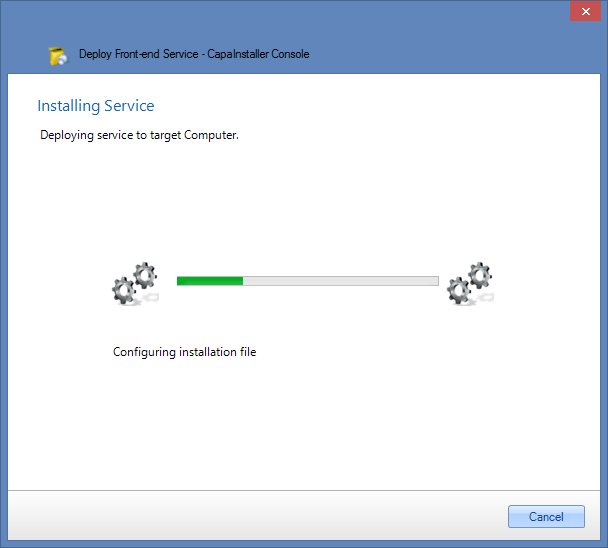
The Front-end Service is installed.
-
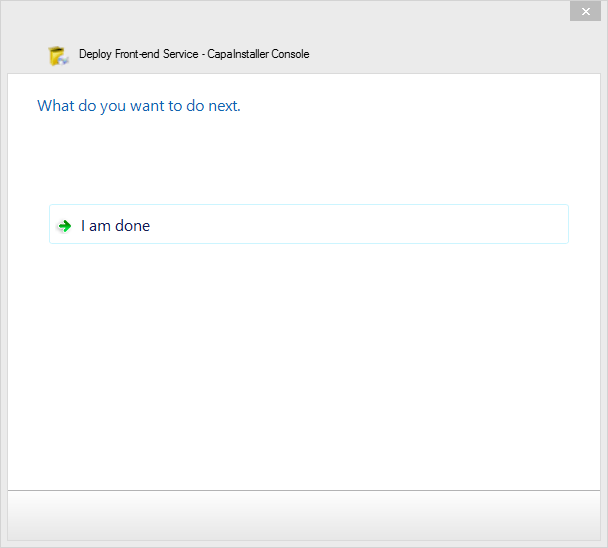
When the installation is completed, click I am done.
The service appears under Services > Front-end Service in System Administration. If you selected offline installation, complete the installation on the target server as described in Offline deployment of services.