
Installing the CapaInstaller Self Service Portal
Introduction
Section titled “Introduction”A simple overview of the steps involved in installing the CapaInstaller Self Service Portal
Deploy a Back-end Service
Section titled “Deploy a Back-end Service”To be able to communicate with CapaInstaller services and to authenticate against an Active Directory, the Self Service Portal relies on the CapaInstaller Back-end Service.
If you already have a Back-end Service Deployed for other purposes, skip this step.
Read more
Section titled “Read more”- How to Deploy the Back-end Service
Enable the Web Server
Section titled “Enable the Web Server ”Requirements:
Internet Information Services (IIS) 8.5 or above
.NET 4.5.1 or above
Enable the Web Server (IIS) role on the Windows Server that is set to host the Self Service Portal site. This server’s DNS name will be the base URL for access to the Self Service Portal.
Read more
Section titled “Read more”Execute the Windows Installer package
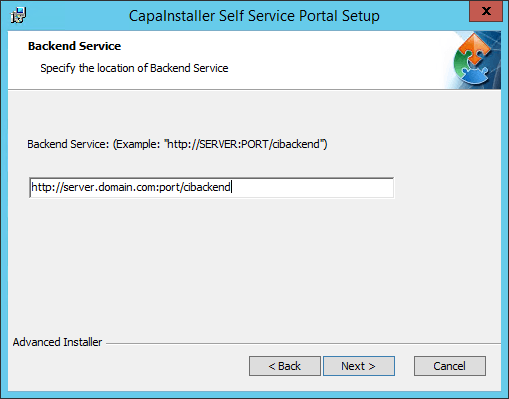
Section titled “Execute the Windows Installer package”Execute the Windows Installer package (CapaInstaller Self Service Portal**.msi)** for the Self Service Portal.
Locate the file in the share of the root configuration management point e.g. ”…\CMPDEV\Resources\Self Service Portal\CapaInstaller Self Service Portal.msi”
Follow the steps in the guided Setup and enter the URL to the relevant Back-end service, when asked.
Installation complete
Section titled “Installation complete”Read more
Section titled “Read more”