
Create a new PXE server
Introduction
Section titled “Introduction”The following is a description of how to create a PXE server. This can be done in several ways. Depending on the infrastructure provided and the availability and placement of DHCP servers, you can choose between a number of scenarios when building DHCP/PXE environments.
| Environment | Description |
| One DHCP, one PXE | This is the simple model where the DHCP doubles as the PXE server or simply refers to the PXE server by using 66. |
| Many DHCPs, one PXE | All DHCP servers point to the IP of the PXE server. OSD will automatically use the server address provided by DHCP. |
| One DHCP, many PXEs | When you use one PXE server from different DHCP servers or scopes, option 66 is used to refer the client to the server. |
| Select the PXE server manually from a list | If you want to manually select from a list of available PXE servers, build a number of copies of boot.wim and add additional menu lines to the cipcc.cfg file. Each boot.wim should point to a specific server name in OSDLoader.ini. |
| Step | Action |
| 1 | Click File menu, click New and then _Create PXE Boot server_. |
| 2 | Fill in all fields. 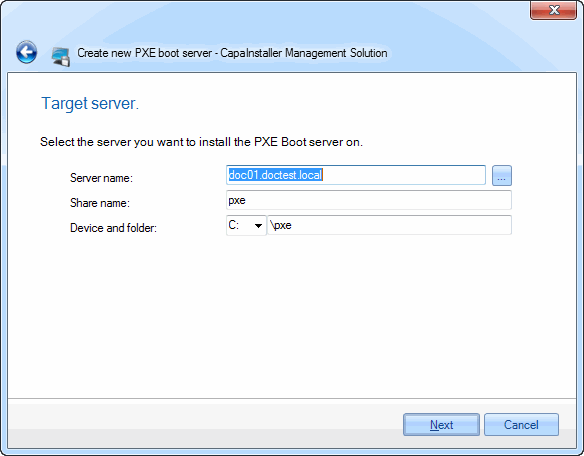 |
| 3 | Select the PXE Boot service to use, and specify any additional settings. 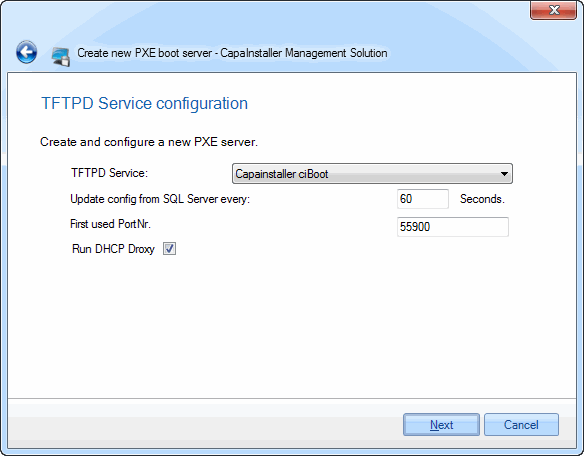 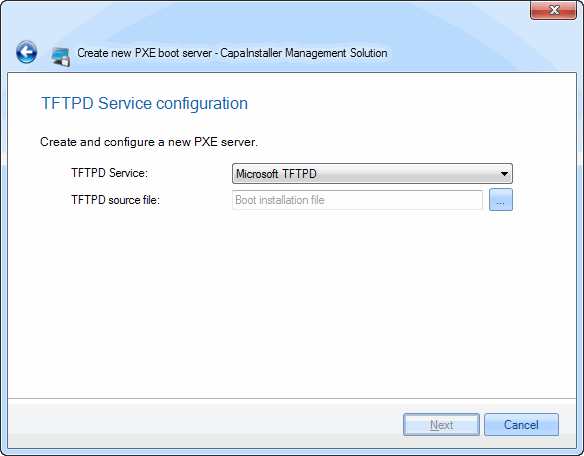 |
| 4 | Specify credentials used to access the SQL Server, this only appears if you selected ciBoot in the previous step. 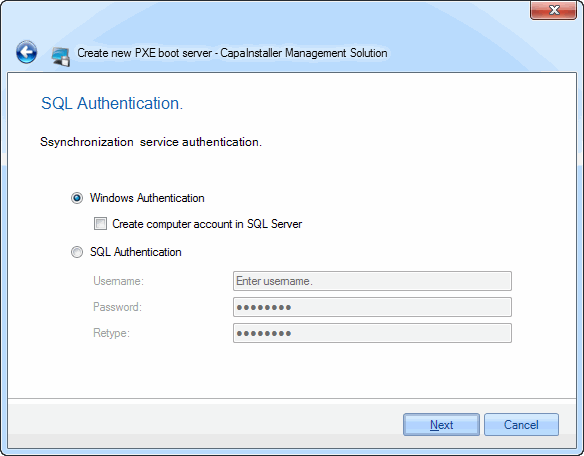 |
| 5 | Specify name of the server and the root Deployment Point to connect it to. 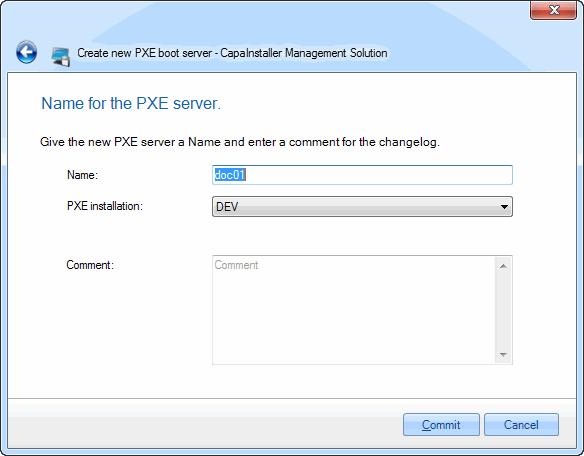 |
| 6 | Click Commit on create the new PXE server |
 | Tip! For further information about PXE servers, PXE Servers. For information on configuring DHCP to support OSD, Configuring DHCP to support Legacy OSD. |