

Approve updates
In a Patch Management group, an update can have the status Approved for installation, Approved for removal, or Not approved. Declining an update is a separate action that you perform under All updates. See Decline Updates. For more information about the statuses, see Updates.
-
In the Patch Management tree, go to the group folder that contains the update, for example Updates → Not approved, or one of the group’s category or classification folders.
-
In the content pane, select one or more updates.
-
Right-click the updates, and then select Approve or Not approved. Which options are shown depends on the folder you’re in.


-
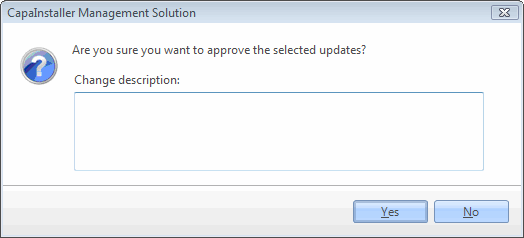
Confirm the action. If necessary, write a change description, and then click Yes.
-
The progress dialog shows the status of each update.
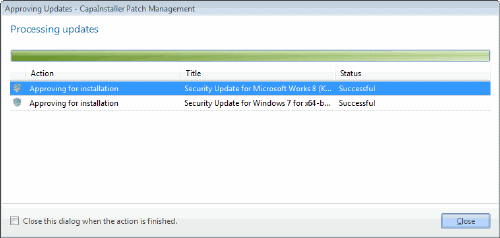
If an update has Microsoft license terms, they’re accepted automatically when you approve the update.
Related tasks
Section titled “Related tasks”| If you want to… | You can… |
|---|---|
| Approve updates from All updates | Approve from All updates |
| Automatically approve updates | Approval rules |
| Learn more about classifications and categories | Categories and Classifications |