
Apple Volume licenses with CapaInstaller MDM
Apple Volume licenses with CapaInstaller MDM
Section titled “Apple Volume licenses with CapaInstaller MDM”Introduction
Section titled “Introduction”With support for the Apple Volume Purchase Program (VPP) CapaInstaller offers a list of benefits for users and administrators of mobile devices in the Enterprise:
Benefits include:
- Dynamic assignment of licensed Apps
- Centralized payment
- Seamless transition to CapaInstaller MDM with VPP from another solution
- Same time saving methods and work flows for bulk deployment of licensed apps as the ones used for the rest of your Enterprise
- Simple user invitation process and support for device assignment without invites (iOS9 and up)
- Automated Enrollment of devices in the VPP Program via CapaInstaller Enrollment Configurations
- Automated License Assignment when installing applications
- Automated revoking of licenses when removing applications
Follow the 3 simple steps below and CapaInstaller will be set up and ready for bulk deployment of licensed Apps
 [^Prepare]:
Section titled “ [^Prepare]:”1. Signup
Section titled “1. Signup”First preparation step is to sign up for the Apple Volume Purchase program via the form available on the Apple “Deployment Programs” homepage.
Guide: Signing up for the Apple Volume Purchase Program
To enroll, go to deploy.apple.com and fill out the form >

You’ll need to provide the following:
• Business phone number and email address.
• Dun & Bradstreet (D-U-N-S) number for your company.
• Valid business address.
Read more
Apple Volume Program Purchases for Business and Education
2. Linking
Section titled “2. Linking”Next step is to setup a link between a specific Apples Volume Purchase Program and your CapaInstaller installation. This involves downloading a token from Apple and adding this to a CapaInstaller Software Account.
Guide: Adding the Volume Purchase Program as a Software Account in CapaInstaller
-
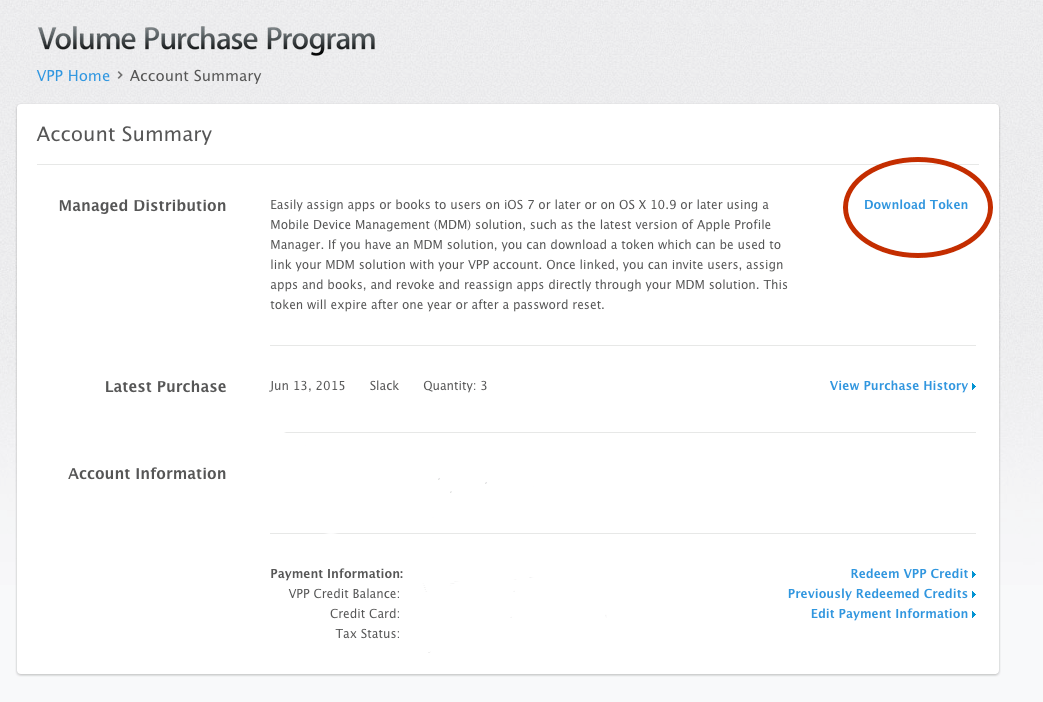
Login and download Token from Apple VPP portal.
-
Navigate to your Account Summary page. Here you will be able to download the token file.
-
Open the token file in a text editor and copy the contents to clipboard
-
In the CapaInstaller Console - Go to System Administration > Software Accounts, right click and Add..
-
Paste clipboard contents in the Token field and press Retrieve VPP Account
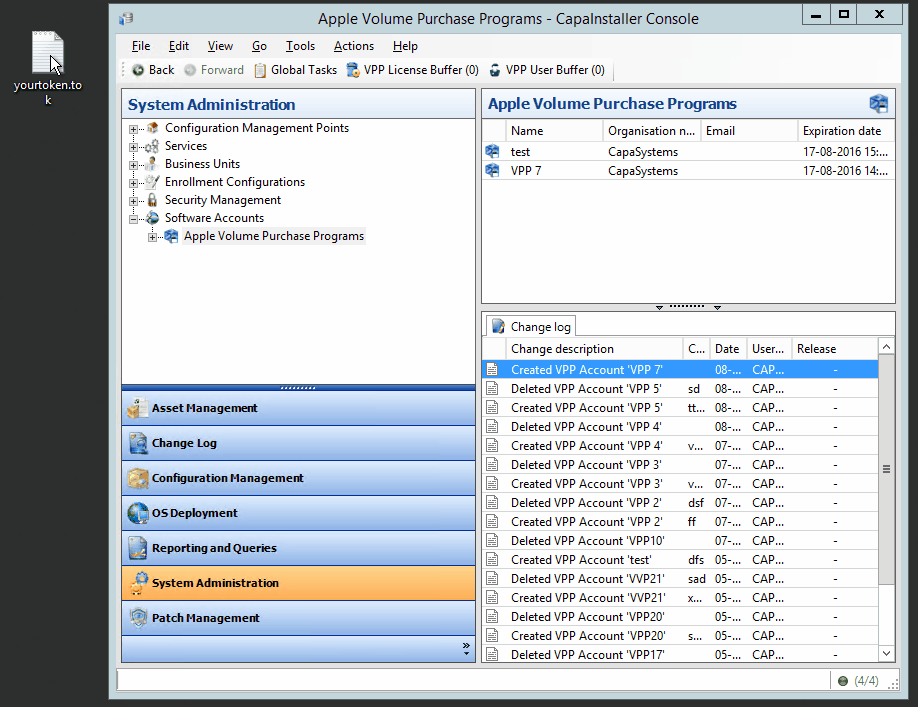
The Apple Volume Purchase Account is now added to your CapaInstaller Installation.
3. Purchase
Section titled “3. Purchase”Last preparation step is to purchase a number of licenses for Apps via the Apple Volume Purchase Program.
Log in to your account via deploy.apple.com and complete the relevant purchases.
You are now prepared to start building some Licensed Apps
 [^Build]:
Section titled “ [^Build]:”4. Create Licensed Apps
Section titled “4. Create Licensed Apps”To build a Licensed App ready for distribution to your user and devices, just complete 3 simple step. First create a Licensed Device Application with the Application Editor.
Guide: Creating an App, setting up VPP account link and choosing a licensing method
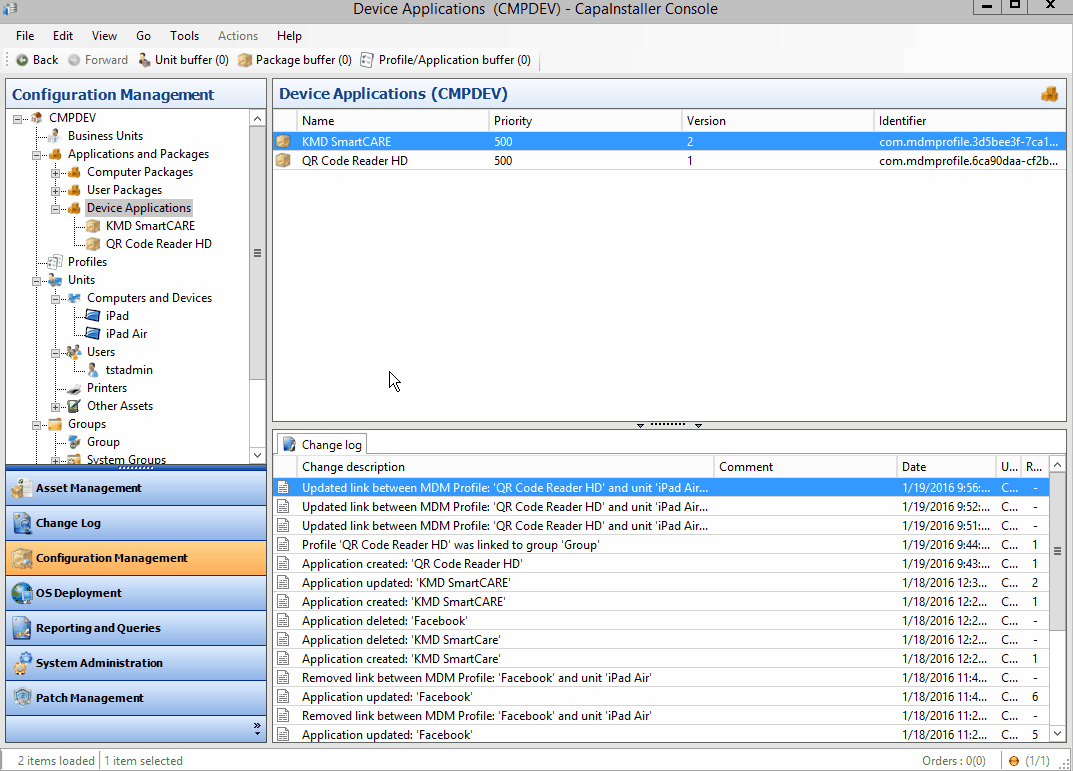
- In the CapaInstaller Console, under Configuration Management, locate the top Management Point.
- In the navigation pane expand “Applications and Packages”, where you will find a folder named “Device Applications”.
- Right Click the “Device Applications” folder and select “Create Application…” which will open the Application Editor
- The left side of the Application Editor consists of the different app types, which can be added to your Device Application. When one of them is clicked it will be added to the content on the right.
- Start by adding an “App Store” app from the iOS category. Click the “Search” button in the added app on the right to find an app in the App Store (e.g. One Note).
- Select the VPP account from where licenses should be assigned, to the devices installing this app.
- Choose a primary and optionally a secondary license assignment method, which will be used only if the primary method is not possible.
- Enter an Application name and a description for the Device Application in the top section of the editor.
- Press “OK” to save.
5. Choose a VPP Account to draw the licenses from
Section titled “5. Choose a VPP Account to draw the licenses from”As shown in the guide above decide which of your registered VPP Accounts this App will draw licenses from.
6. Select which method the Device Application will use to assign these licenses.
Section titled “6. Select which method the Device Application will use to assign these licenses.”Following the above guide, a choice of assignment method must be made. Either assign licenses to Apple users or to individual devices. Read the explanation below if you are in doubt which method to use
Assignment methods explained
Assign license to a user
Section titled “Assign license to a user”Assigning an app to an Apple ID allows your users to receive the app on multiple devices while only using one license. This way a user with a Phone and a Tablet can take advantage of the assigned licensed App while only one license will be drawn from the pool.
User assignment requires that the Apple ID is associated with your VPP account.
The simplest way of associating a VPP account with your users devices is using an Getting started with Enrollment Configurations. Correctly configured this will automate the linking process fully and devices will be able to get licensed Apps from one of the VPP accounts already linked to CapaInstaller and/or give the user the option to choose one during enrollment. As soon as the device enrolls and a user accepts the invitation sent to the device no more work is needed.
Read more here > Getting started with Enrollment Configurations
Alternatively you can send invitations manually. Follow the guide below to do this.
Guide: Inviting a single device to a VPP program
- Right click a device to display an Invitation for the signed in device user on the device screen.
- Select a VPP Account to invite the device user to.
- Fill out name and e-mail fields for the device user and press “Send Invitation
The user signed in to the device will receive a notification on this device asking to join the Volume Purchase Program.
Assign license to a device
Section titled “Assign license to a device”With the release of iOS9 it has become possible to install applications without the need for an Apple ID on the device. If the App supports it and the device is running iOS9 or above you will be able to deploy licensed Apps to these devices without first sending an invitation. This way a non-personal device can have a licensed program linked directly to the device and not the user signed into the device.
Automatic VPP and user method selection via Enrollment Configurations
Section titled “Automatic VPP and user method selection via Enrollment Configurations”Your Licensed Apps are now created, configured and ready for distribution .
 [^Distribute]:
Section titled “ [^Distribute]:”9. Distribution
The device application can now be deployed directly to the Devices, Users or more dynamically linked to Groups for all the group members to receive the app.
Guide: Assigning Applications to a Device
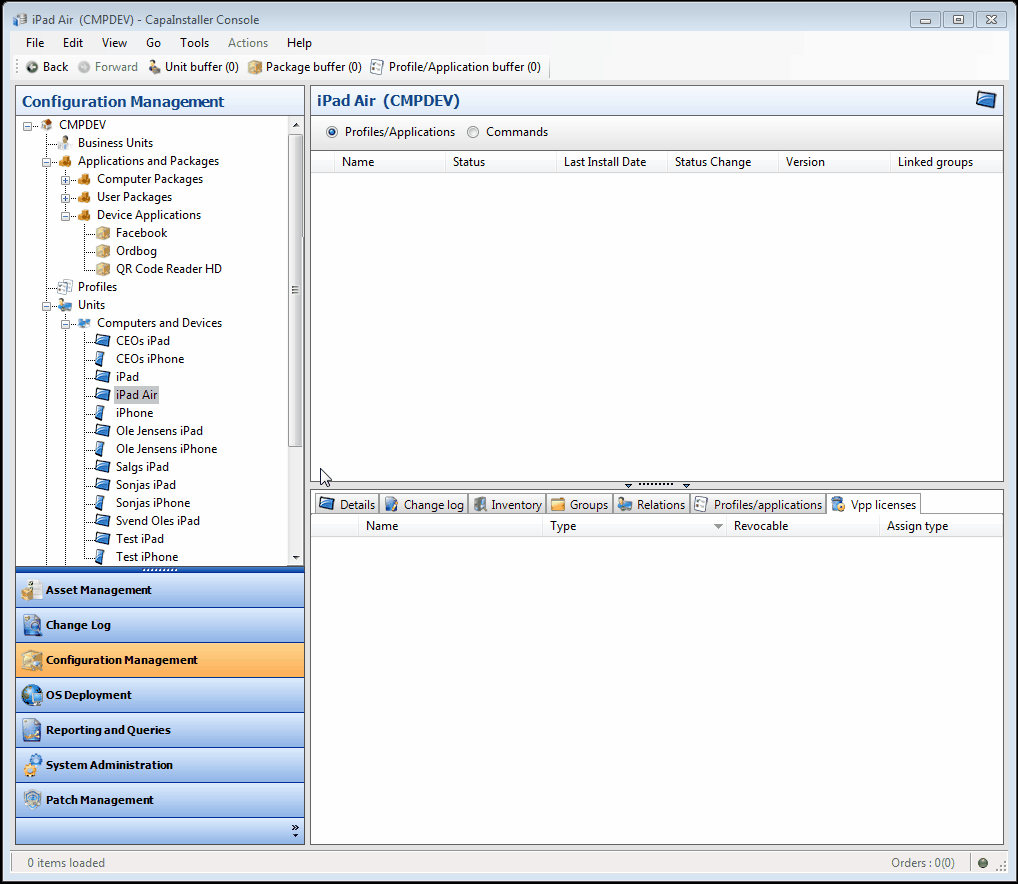
Assign applications directly to a device
Section titled “Assign applications directly to a device”Either by drag and drop or by using the unit buffer, you can link an application and a device together. The relation between them will get the status ‘Waiting’ until it is successfully installed.
Assigning apps using the buffer
Assigning one or more apps to a device or more devices using the buffer

The status of the assignment can be seen by selecting either the device or the application in the navigation pane.

Assign applications to a device through users
Section titled “Assign applications to a device through users”In the same way, an application can be linked to a device, it can also be linked to a user. Any devices linked to the user at that time will have the application assigned as well as the user. Any devices linked to the user at a later point in time will also automatically get the user’s applications.
Assign applications to a device through groups
Section titled “Assign applications to a device through groups”Groups can be linked to devices, users, and applications. If a group with devices is linked to an application, all its device members will receive the application.
If a group with users is linked to an application, all devices linked to the group’s user members will receive the application.
This feature reduces the work for administrators significantly, and with the intelligent use of dynamic groups, devices will be automatically assigned to the correct applications based on its properties such as hardware, software, location etc.
Read more
Section titled “Read more”Read more
Getting started with App deployment
Getting started with App deployment