
Create a new PXE boot menu
Introduction
Section titled “Introduction”The following is a description of how to create a PXE boot menu item. This can be done in several ways, depending on the boot image location and type.
Boot Configuration
| Step | Action |
| 1 | Right click the PXE server and select Properties →Boot Configuration… |
| 2 | Select menu group and press Add to create new PXE boot menu. 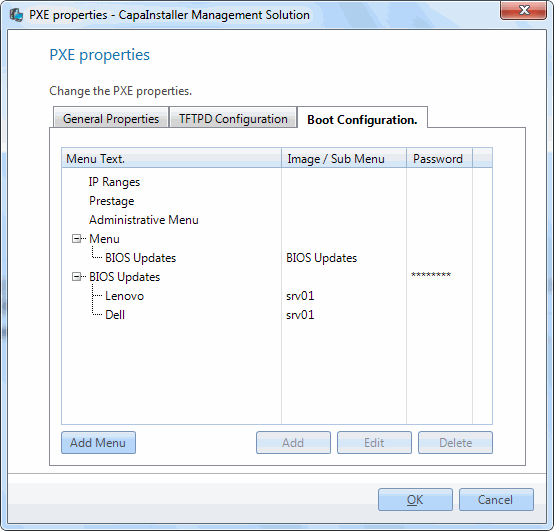 Depending on the selected menu group chose the target identifier. Depending on the selected menu group chose the target identifier. |
IP Ranges
| Step | Action |
| 1 | Select the DHCP scope to assign a boot file. 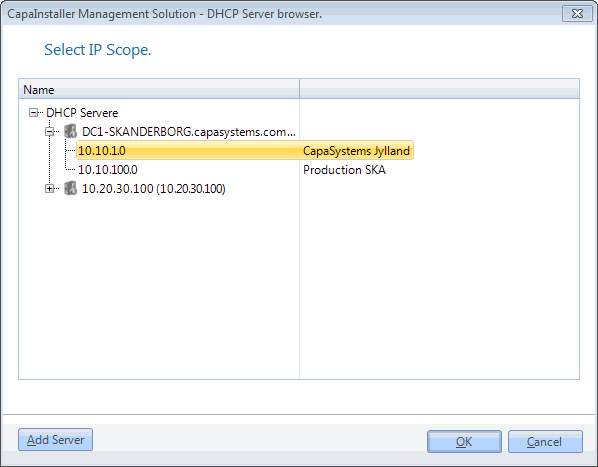 |
Prestages
| Step | Action |
| 1 | Select prestage qualifier. 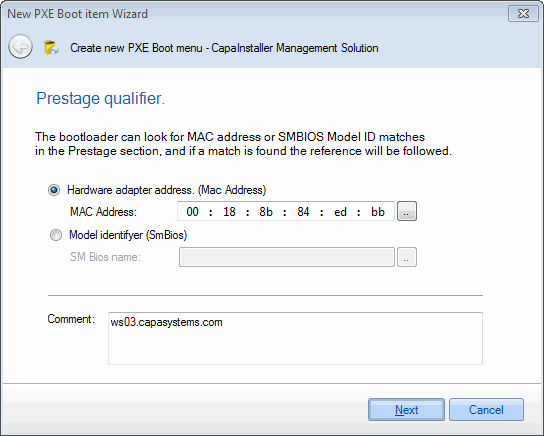 |
| 2 | MAC - Address select the target computer. 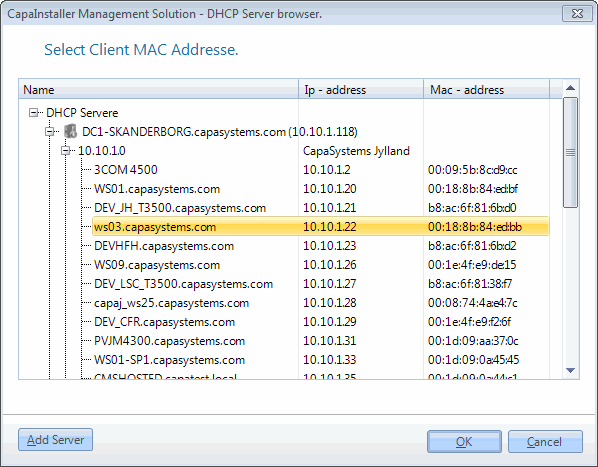 |
| 3 | Model select SM Bios name. 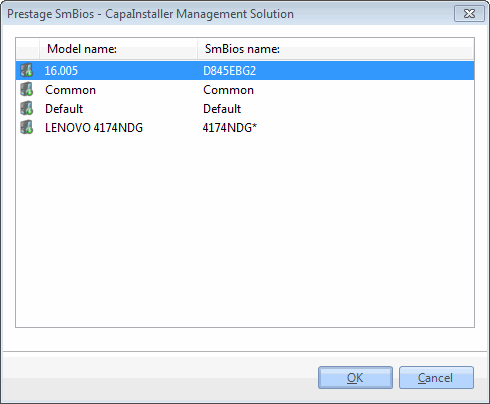 |
Predefined or OEM menu’s.
| Step | Action |
| 1 | Fill in menu text and comment. 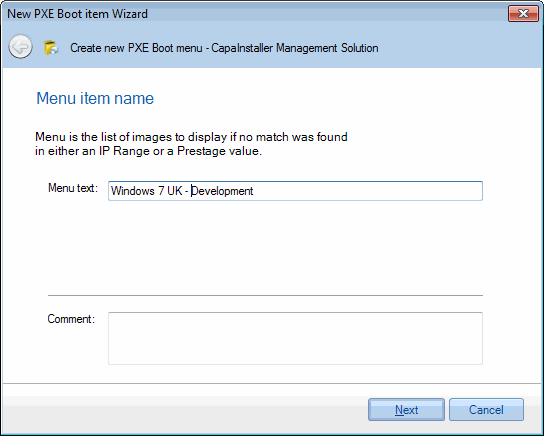 |
| 2 |
Target type
| Step | Action |
| 1 | Select the type of boot image. 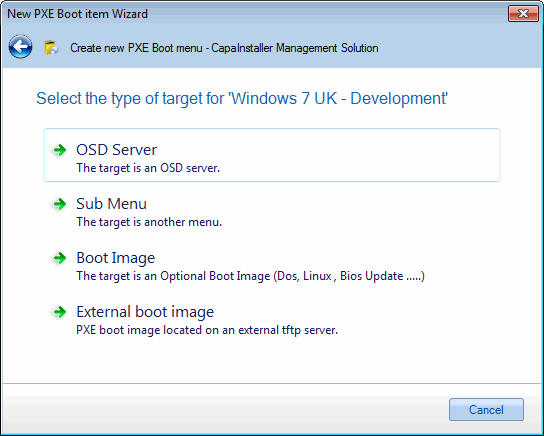 |
| 2 |
OSD Server
| Step | Action |
| 1 | Select the OSD Server to boot from. 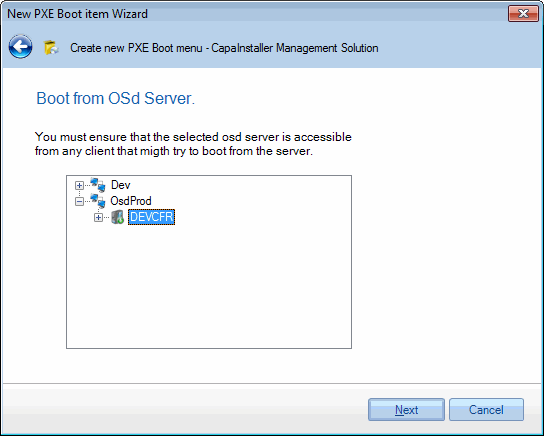 |
| 2 |
Sub Menu
| Step | Action |
| 1 | Select an other PXE boot menu to load. 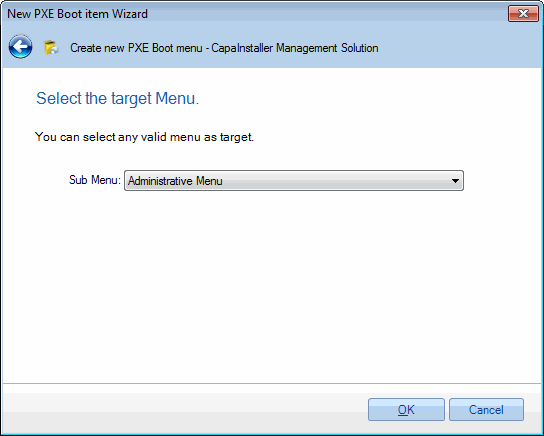 For further information on creating PXE menu groups, Create a new PXE menu group For further information on creating PXE menu groups, Create a new PXE menu group |
Boot Image
| Step | Action |
| 1 | Select image to boot. 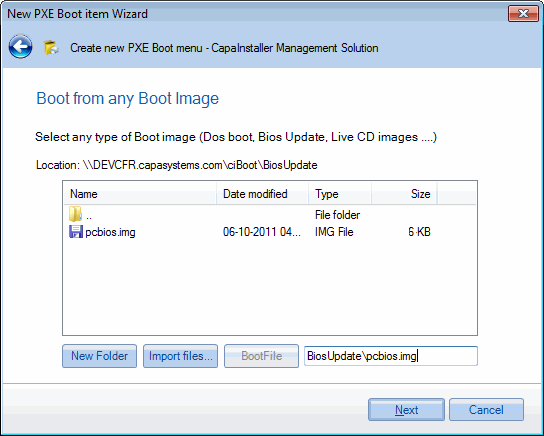 Use ‘Import files’ to copy files and folders to the tftp server. Use ‘Import files’ to copy files and folders to the tftp server. |
External boot image
| Step | Action |
| 1 | Select a boot image located on another tftp server. 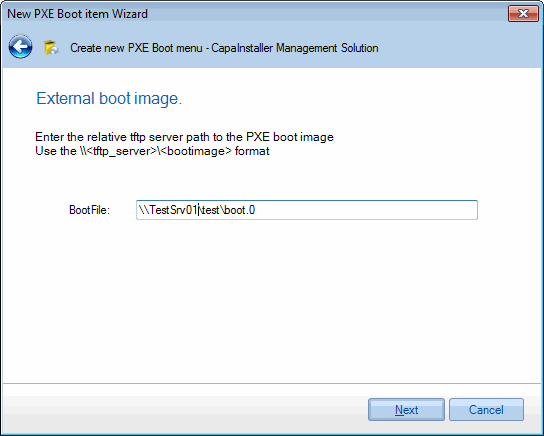 |
Commit Menu Item
| Step | Action |
| 1 | Password protect the boot menu. you can eventually protect the boot menu from unauthorized uses. 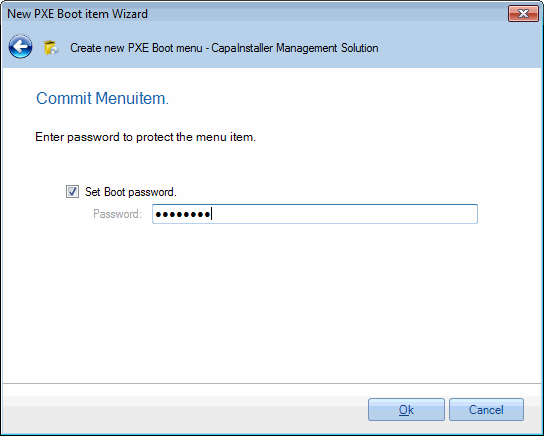 |