
Android Device Owner Enrollment
Introduction
Section titled “Introduction”The following is a description of how to use the CapaInstaller Configurator application for fast bulk enrollment of Android devices, enabling the use of Android Device Owner specific configurations.
Prerequisites
Section titled “Prerequisites”-
A brand new Android Device Owner capable device or one that has just been factory reset
-
The Capainstaller Configurator App installed on the device used to distribute the configurations
Google Play Store
Downloading the Configurator App from Google Play Store...
Download the Configurator App from the Google Play Store
Android Enterprise Application
Manually distributing the Configurator App as an Enterprise Application...
- Right Click the Configuration Management point and select Open Folder in Windows Explorer
- Browse to Resources → CapainstallerConfigurator and copy the path
- Creating Enterprise Device Applications
- Paste the path and select the CIConfigurator.apk
- An existing Getting started with Enrollment Configurations to distribute
Initial Setup
Section titled “Initial Setup”How to setup the Enrollment Configurator
| Step | Configuration |
|---|---|
| 1 | - Open the Capainstaller Configurator App - 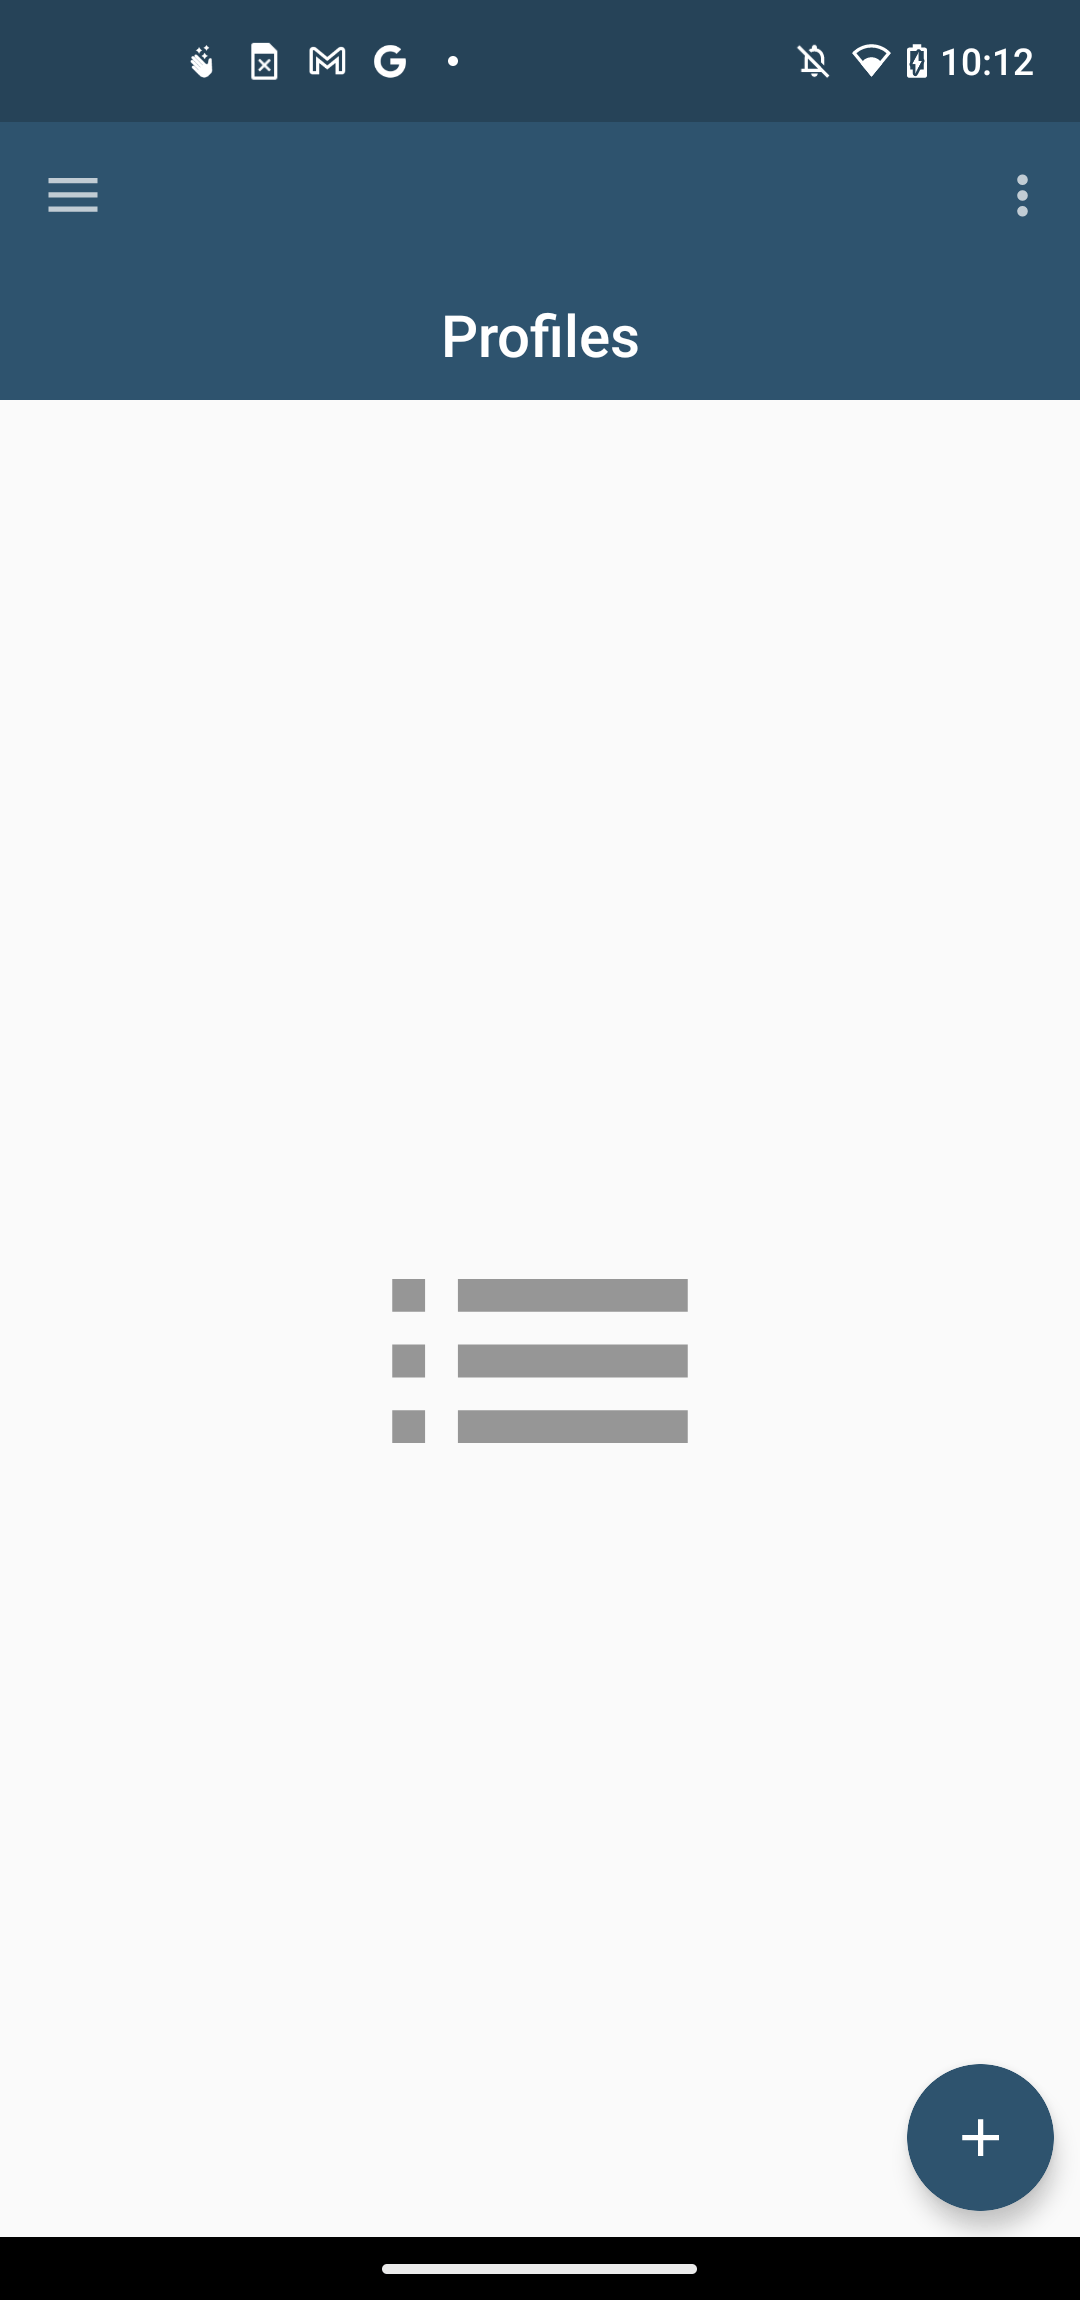 |
| 2 | - Choose Settings from the drawer menu - 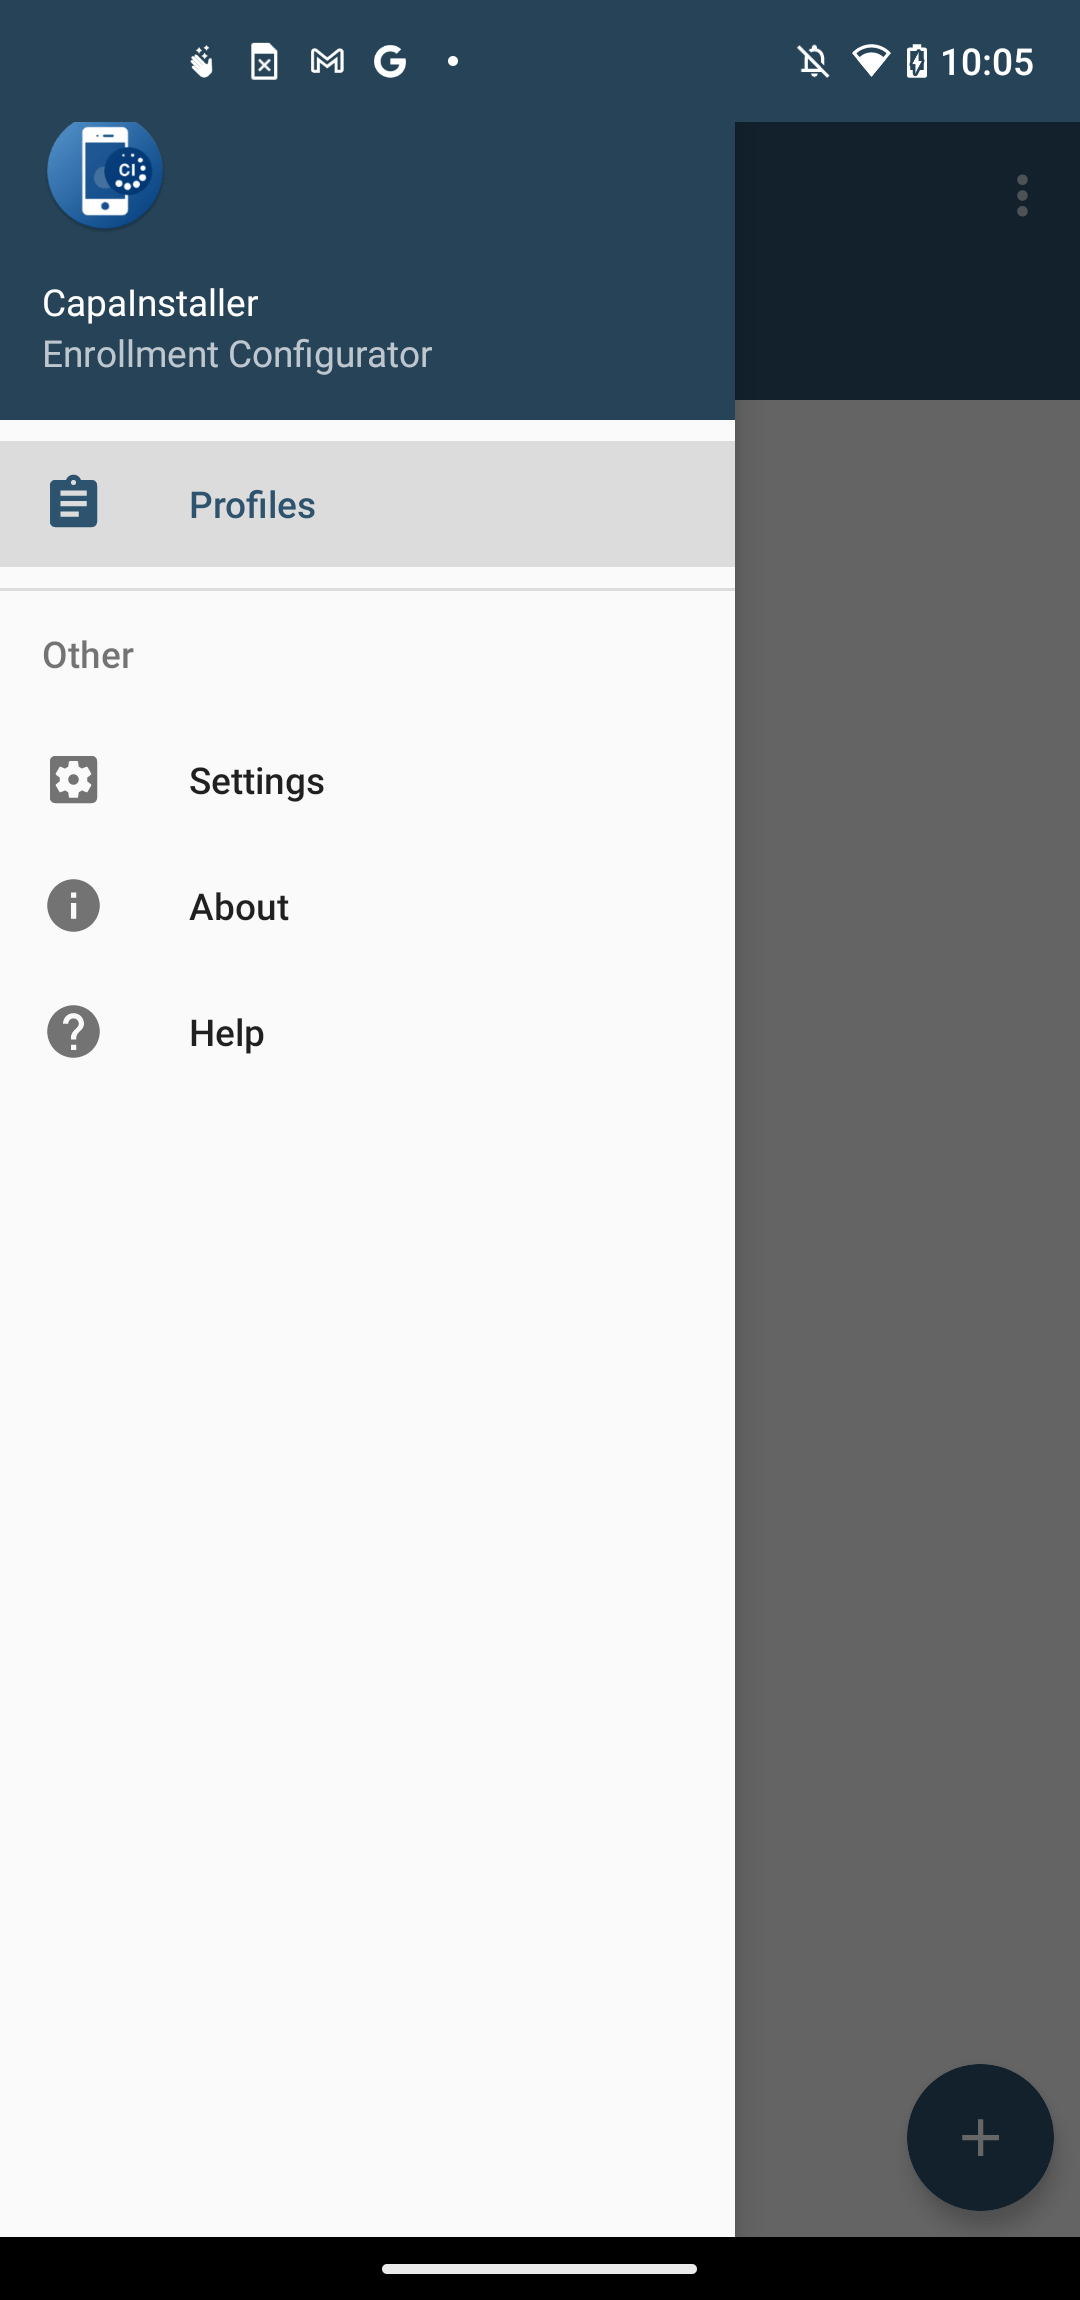 |
| 3 | - Select Company Name and type your company name - 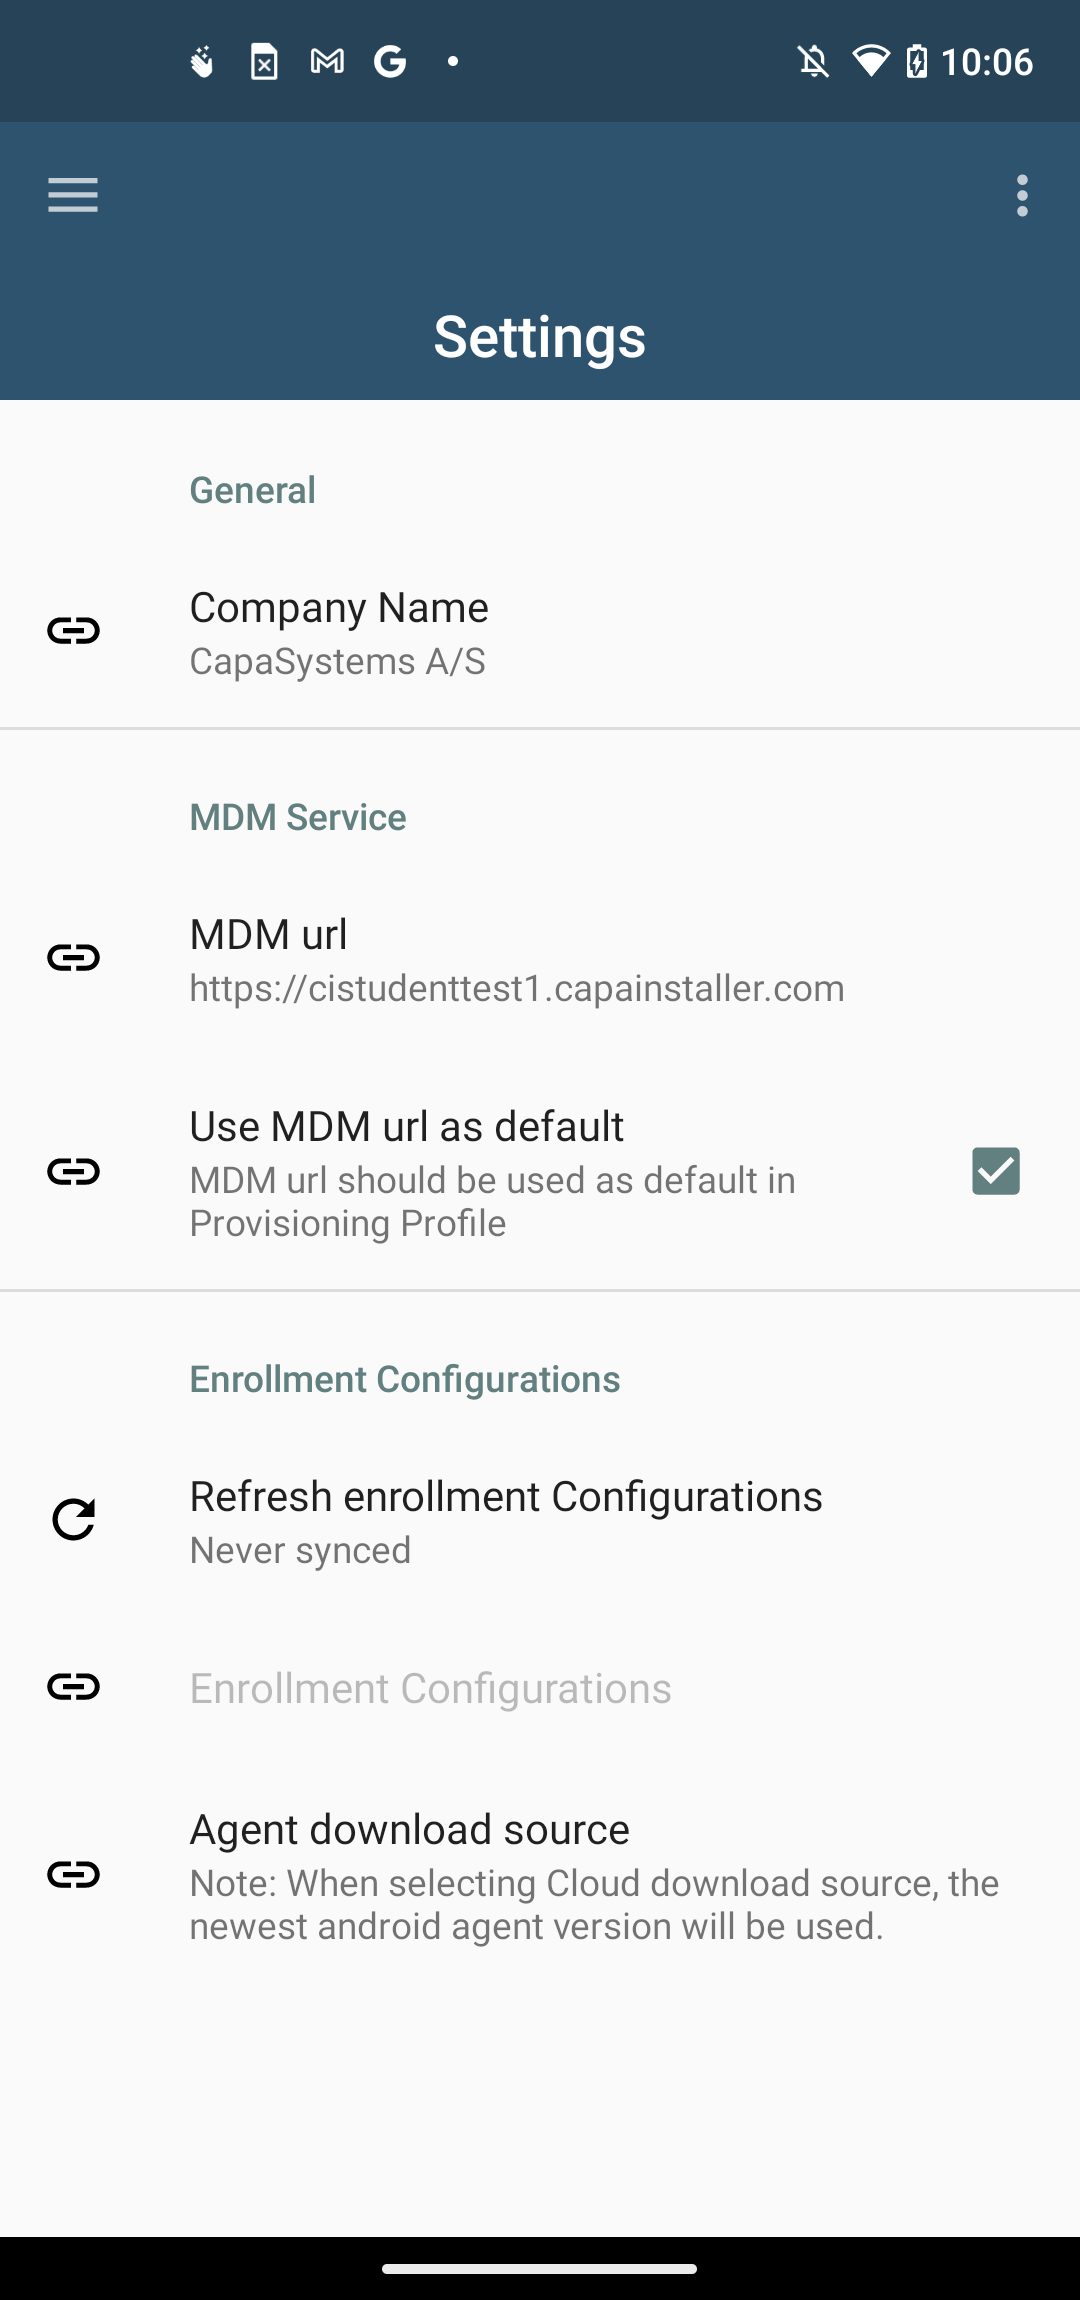 |
| 4 | Select MDM URL |
| 5 | - Input URL for MDM service - 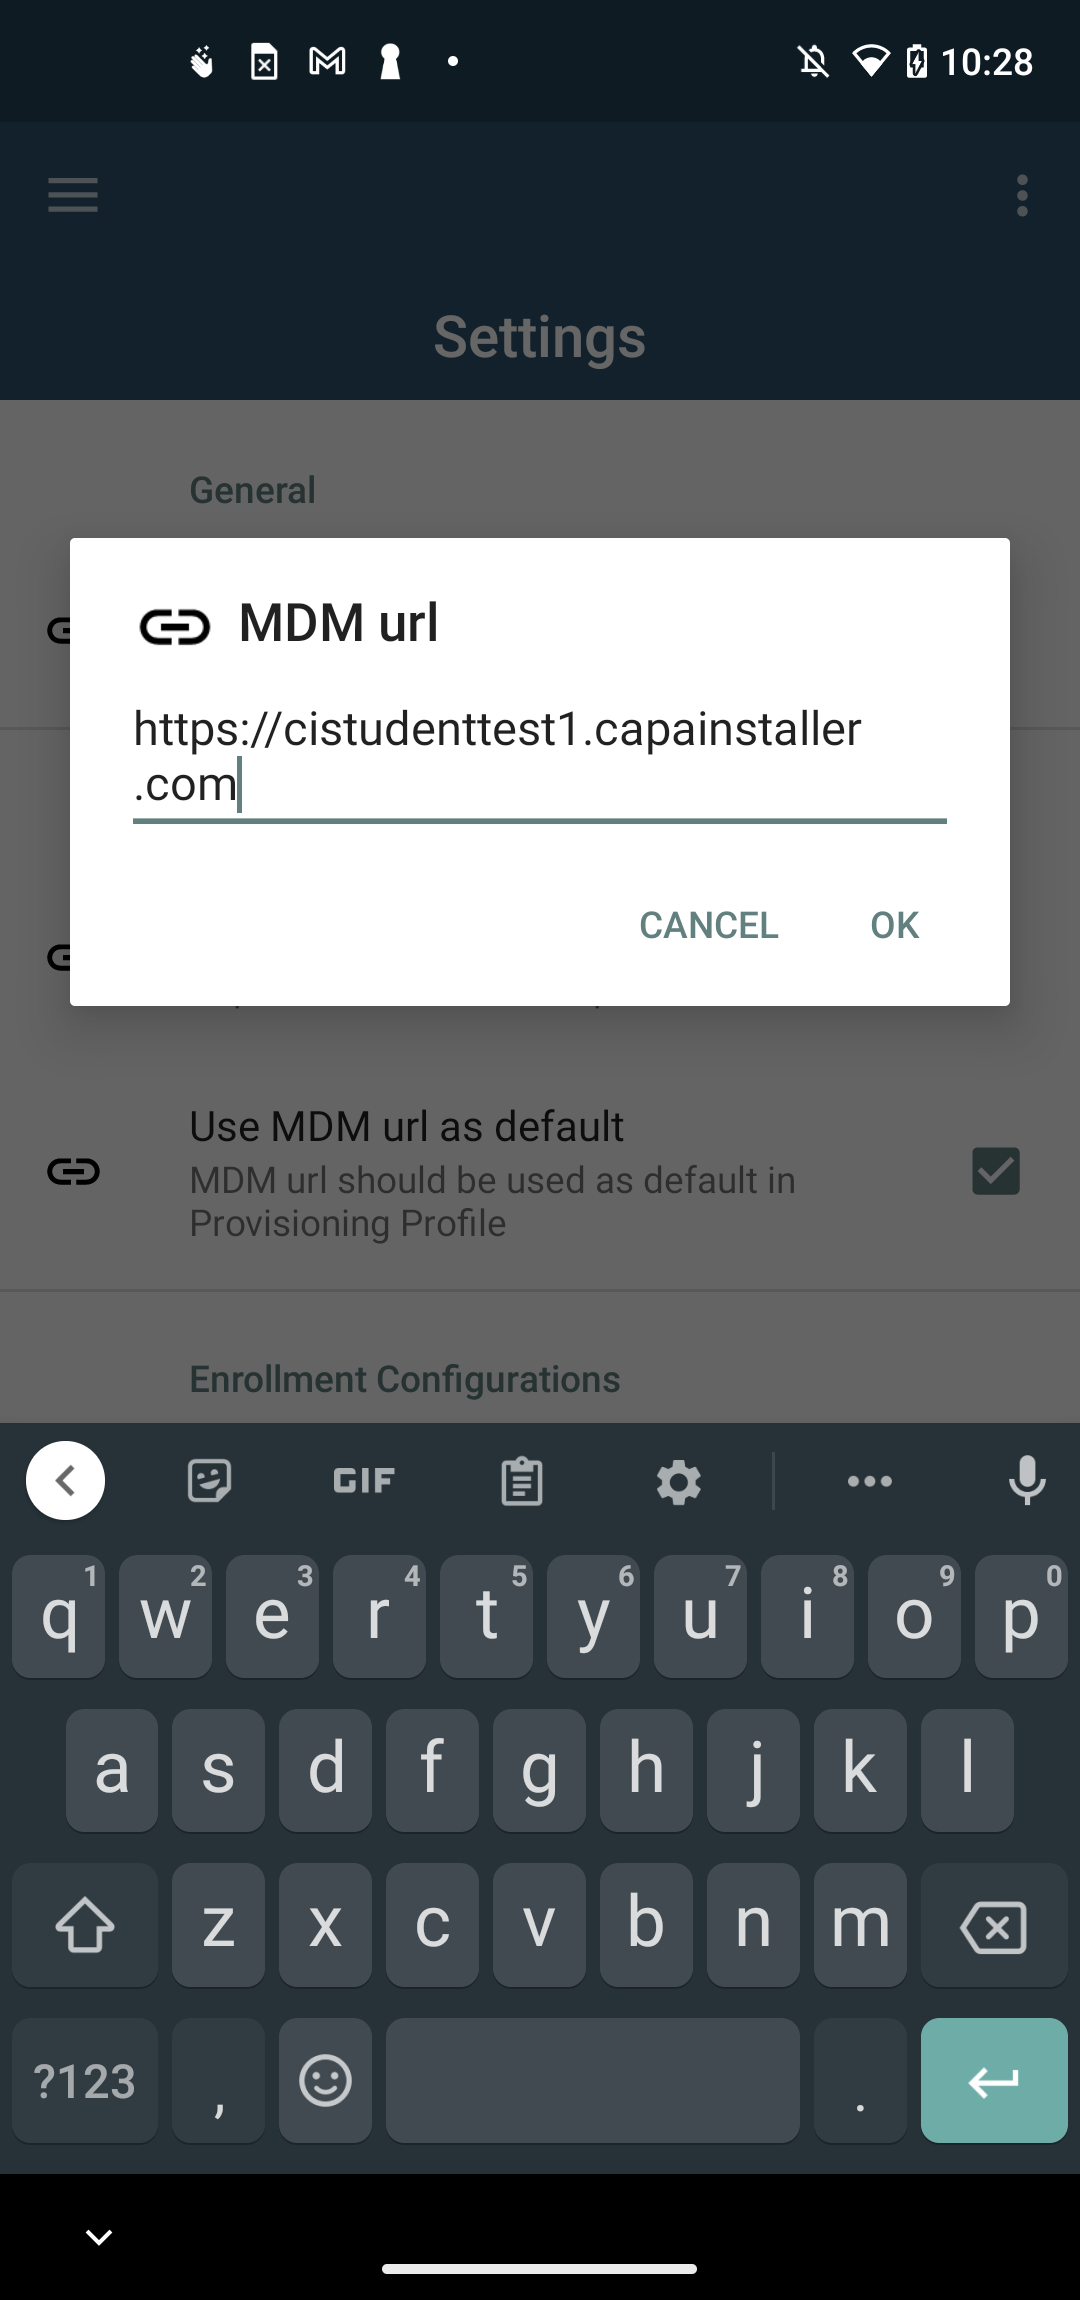 |
| 6 | Select Refresh enrollment configurations, this will fetch all your available enrollment configurations |
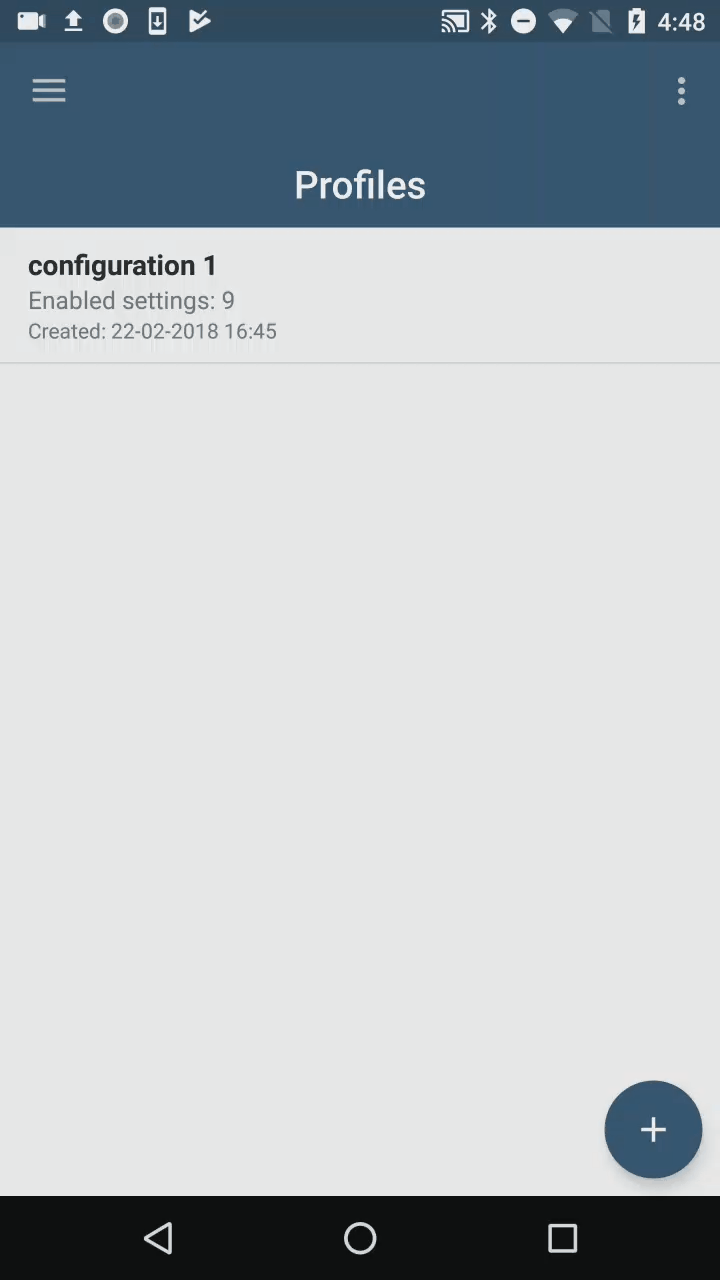
Creating Profiles
Section titled “Creating Profiles”How to create a new Profile
| Step | Configuration |
|---|---|
| 1 | - Select the  action button to begin the provisioning profile wizard: action button to begin the provisioning profile wizard:-  |
| 2 | - Input the URL to the MDM service and the enrollment id of the enrollment configuration to be used. - If a default MDM URL or a default enrollment configuration is present, these will be used here - 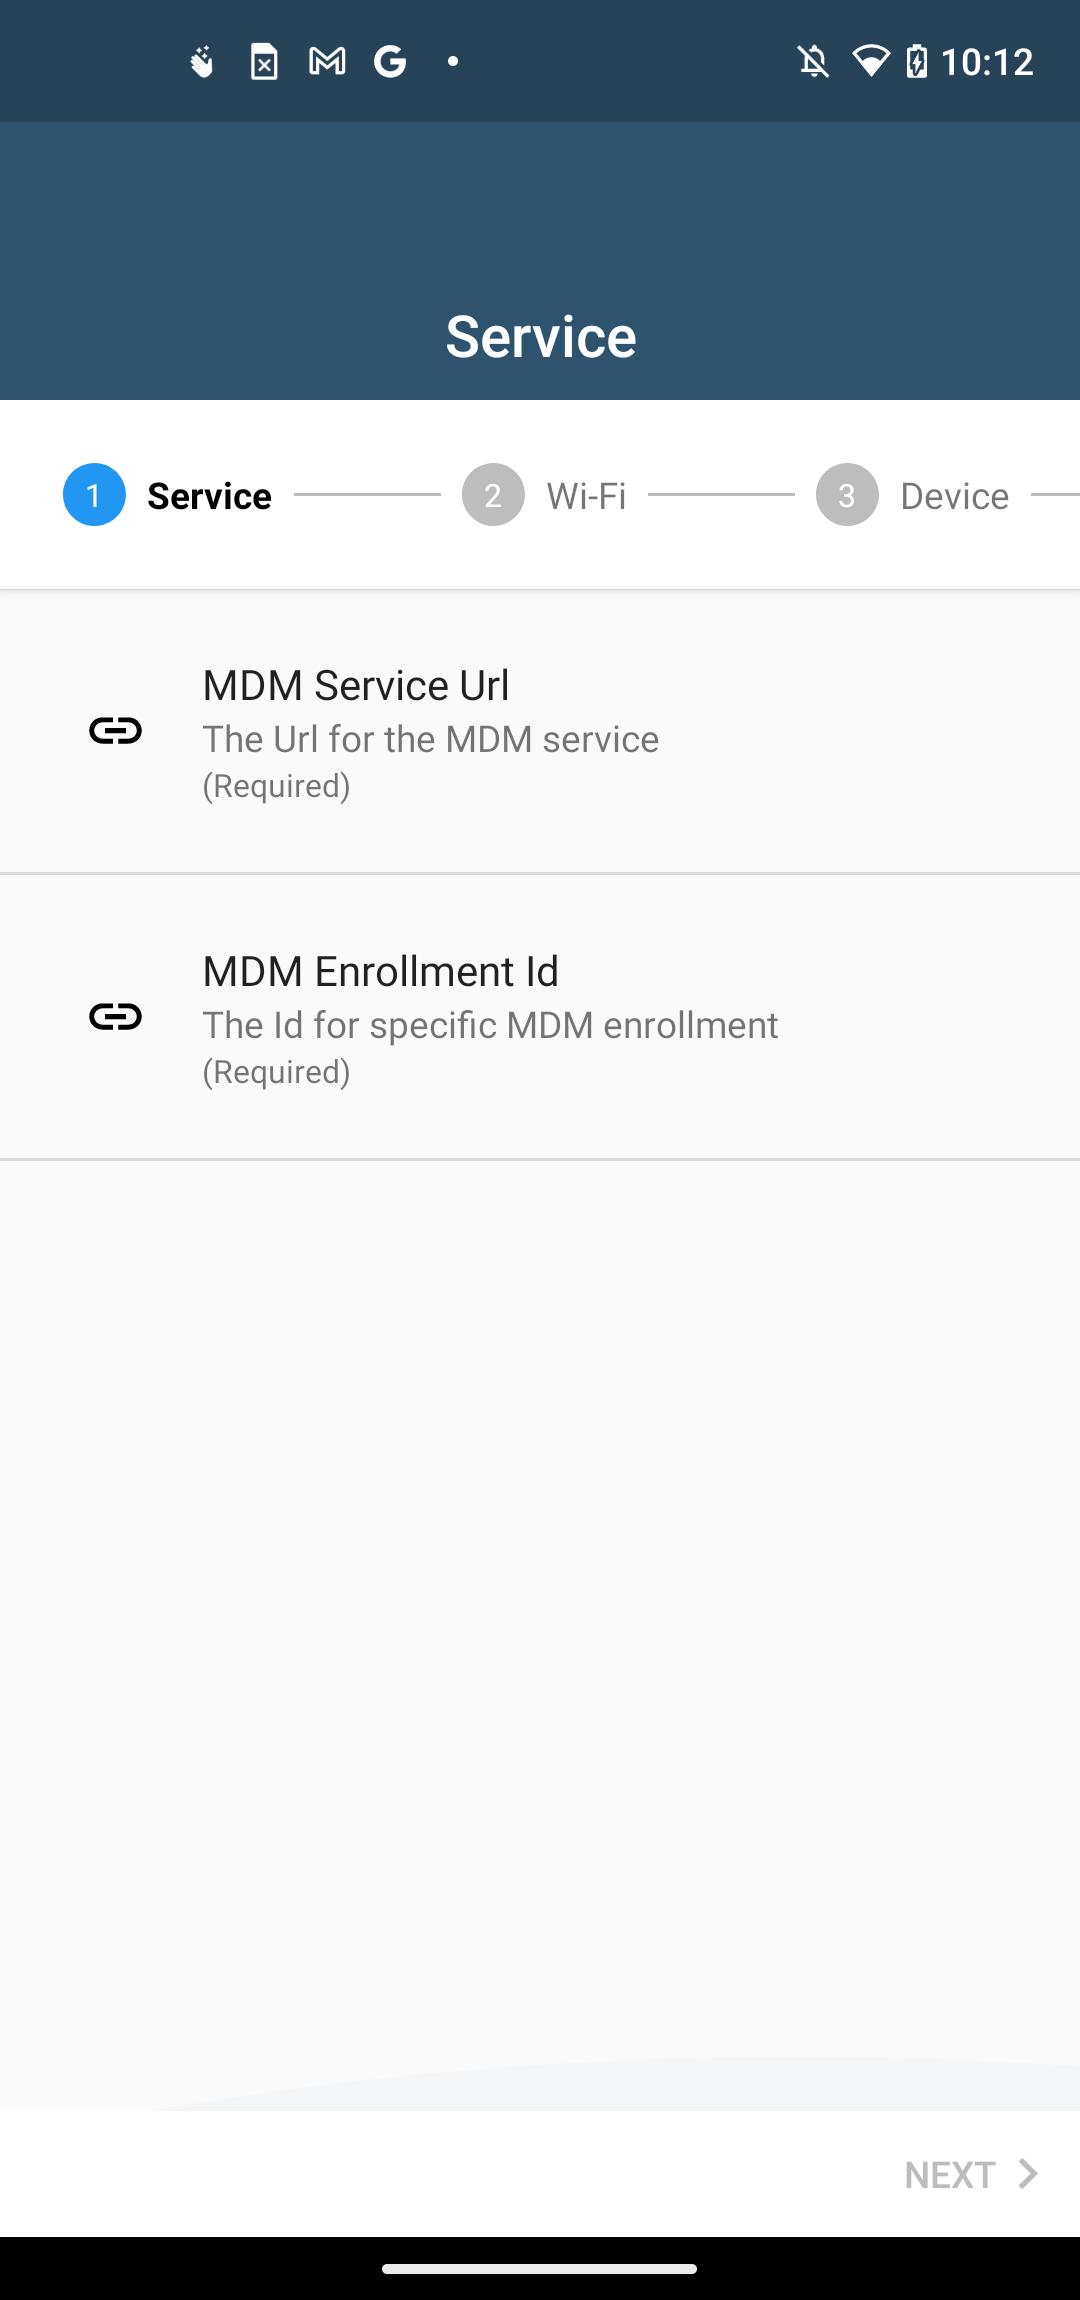 |
| 3 | - Input Wi-Fi password, SSID and security type for the network the device will connect to - If no Wi-Fi settings are provided, the device will prompt for Wi-Fi during the provisioning process or use mobile data if available - 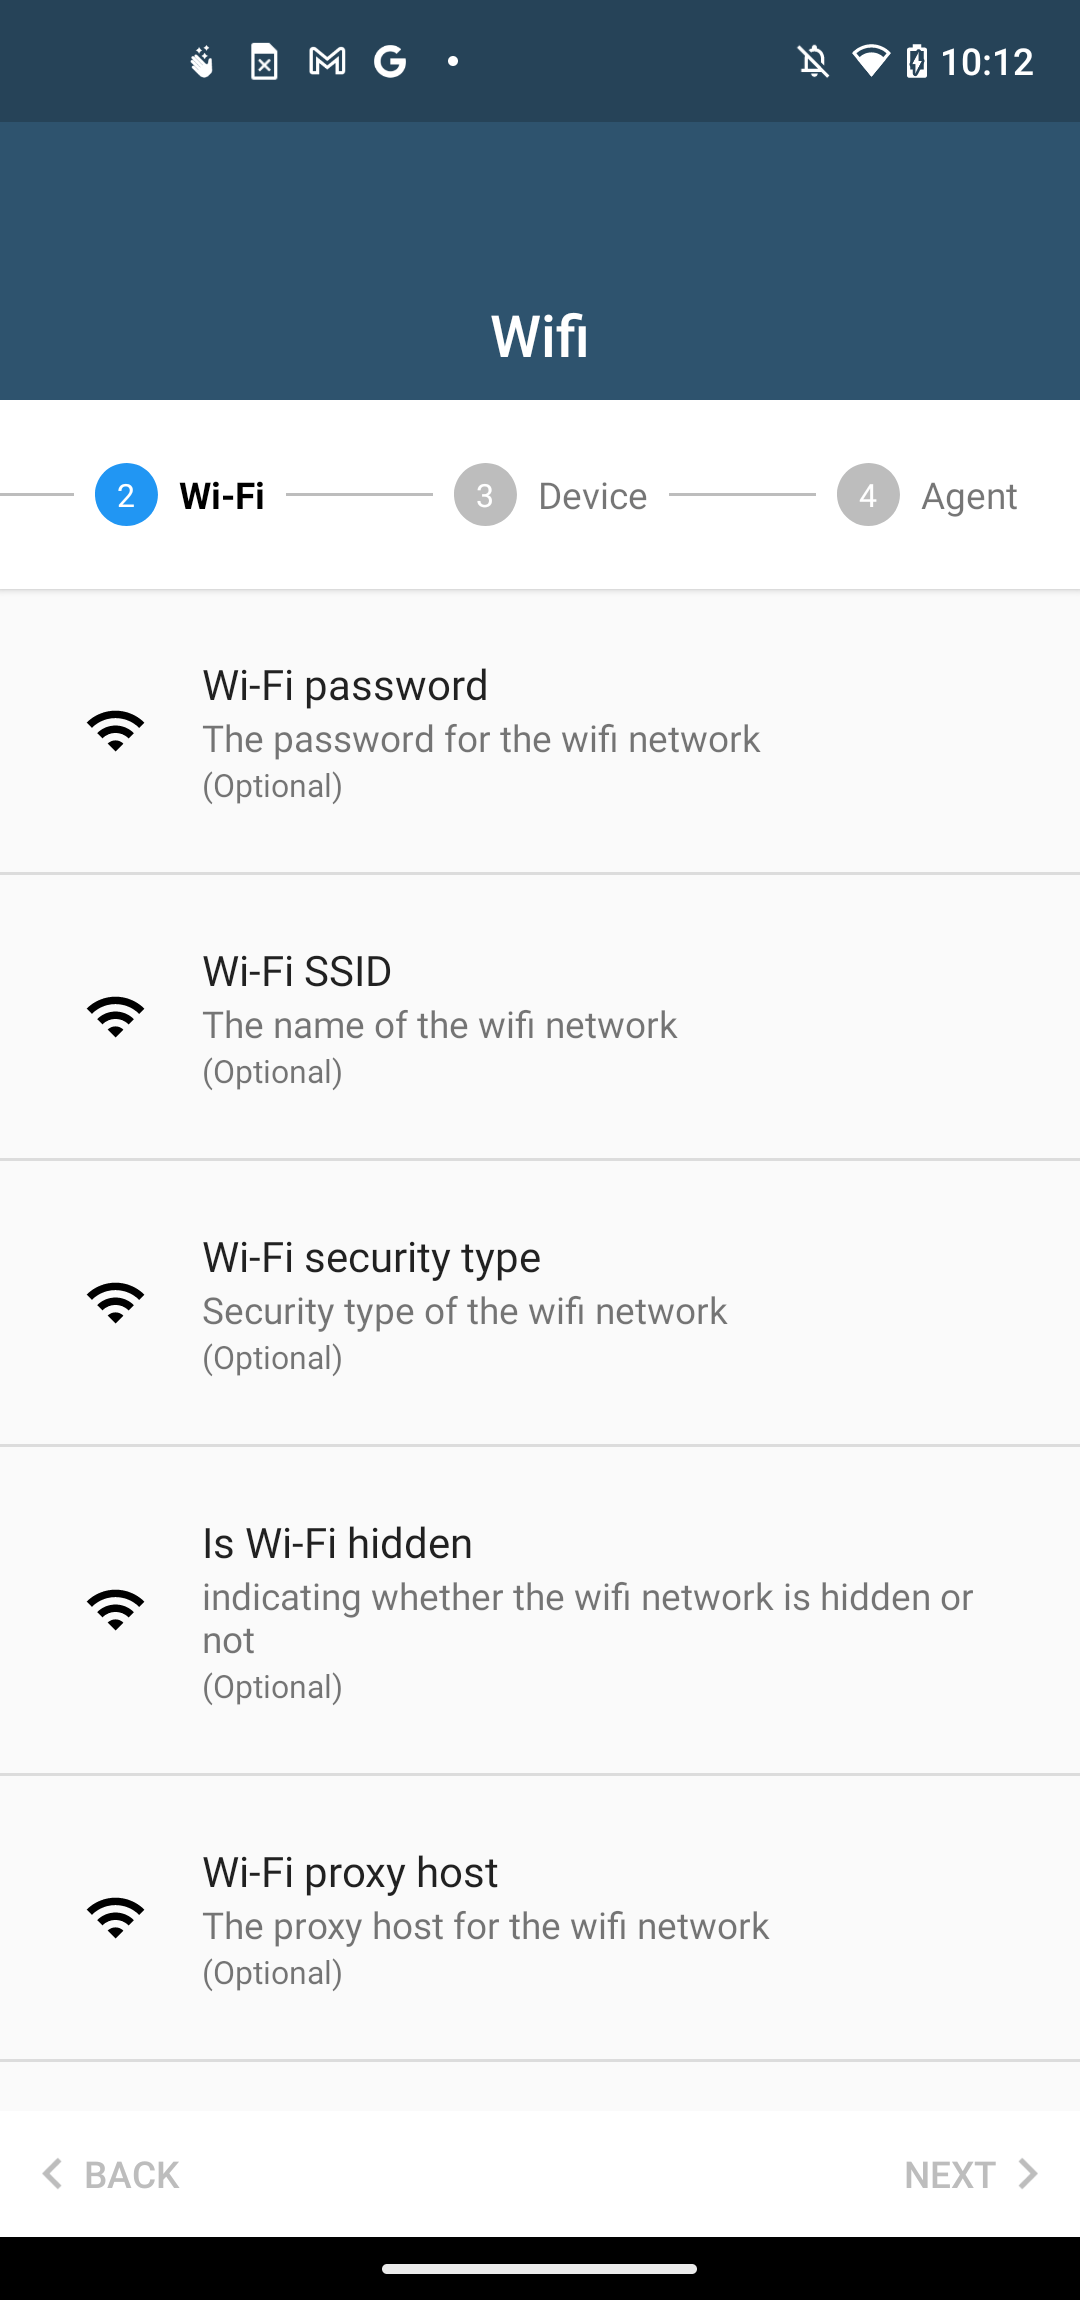 |
| 4 | Device configuration (Optional) - Input the Timezone and locale the enrolled device will use - If no Timezone or Locale is provided, the device will be enrolled with the factory default language and timezone |
| 5 | Agent (Optional) - Input the Alias of the device to be enrolled - If no Alias is provided, the device will be enrolled with the factory default name |
NFC Enrollment
Section titled “NFC Enrollment”How to enroll with NFC Beaming...
To simplify enrolling many devices with a specific configuration, CapaInstaller provides the possibility to wirelessly enroll devices with NFC support.
Using a master device to distribute the configuration to the new or reset devices makes bulk enrollment fast and simple.
 | - Choose a previously saved Profile - Select the Begin NFC enrollment action button.  - Wait 5-10 seconds for the App to validate the MDM URL and the configuration is ready to transfer. “Bump” the two devices, and press the screen to transfer the provisioning profile. Once the transfer is complete the provisioning flow will begin. Just follow the guide available on the screen. During the provisioning flow, the CapaInstaller Agent will be downloaded, enrolled and set as Device Owner. 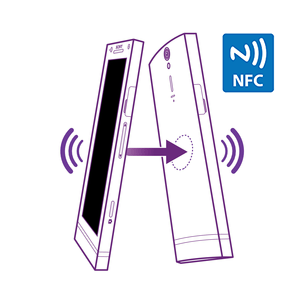 |
QR Enrollment
Section titled “QR Enrollment”| Step | Configuration |
|---|---|
| 1 | - Select Qr code  from the drawer menu from the drawer menu- 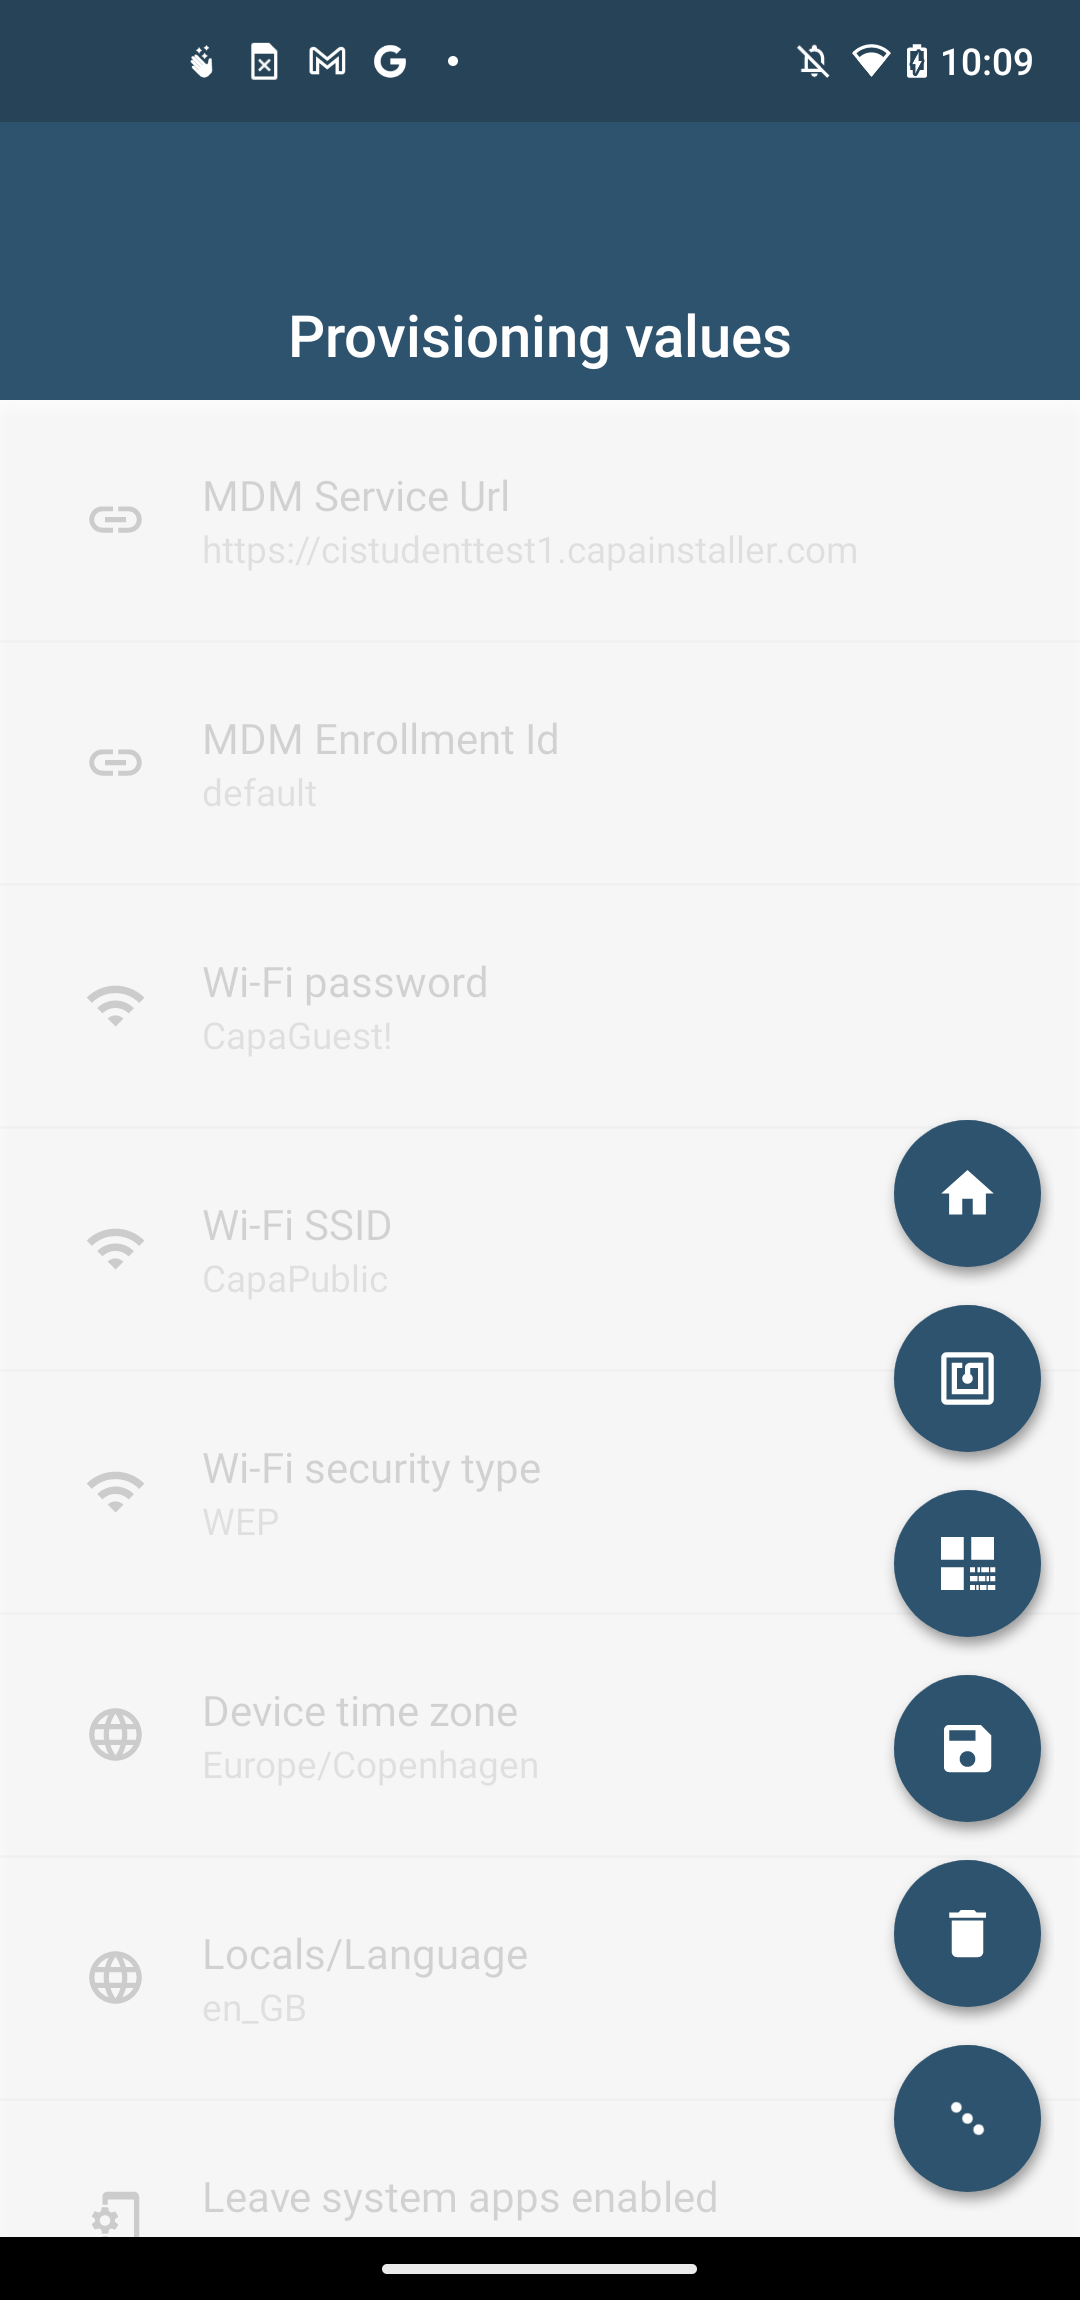 |
| 2 | Wait 5-10 seconds for the App to validate the MDM URL and create a QR code. |
| 3 | - Either scan the QR code or select the  action button to print, save or mail the QR code action button to print, save or mail the QR code- 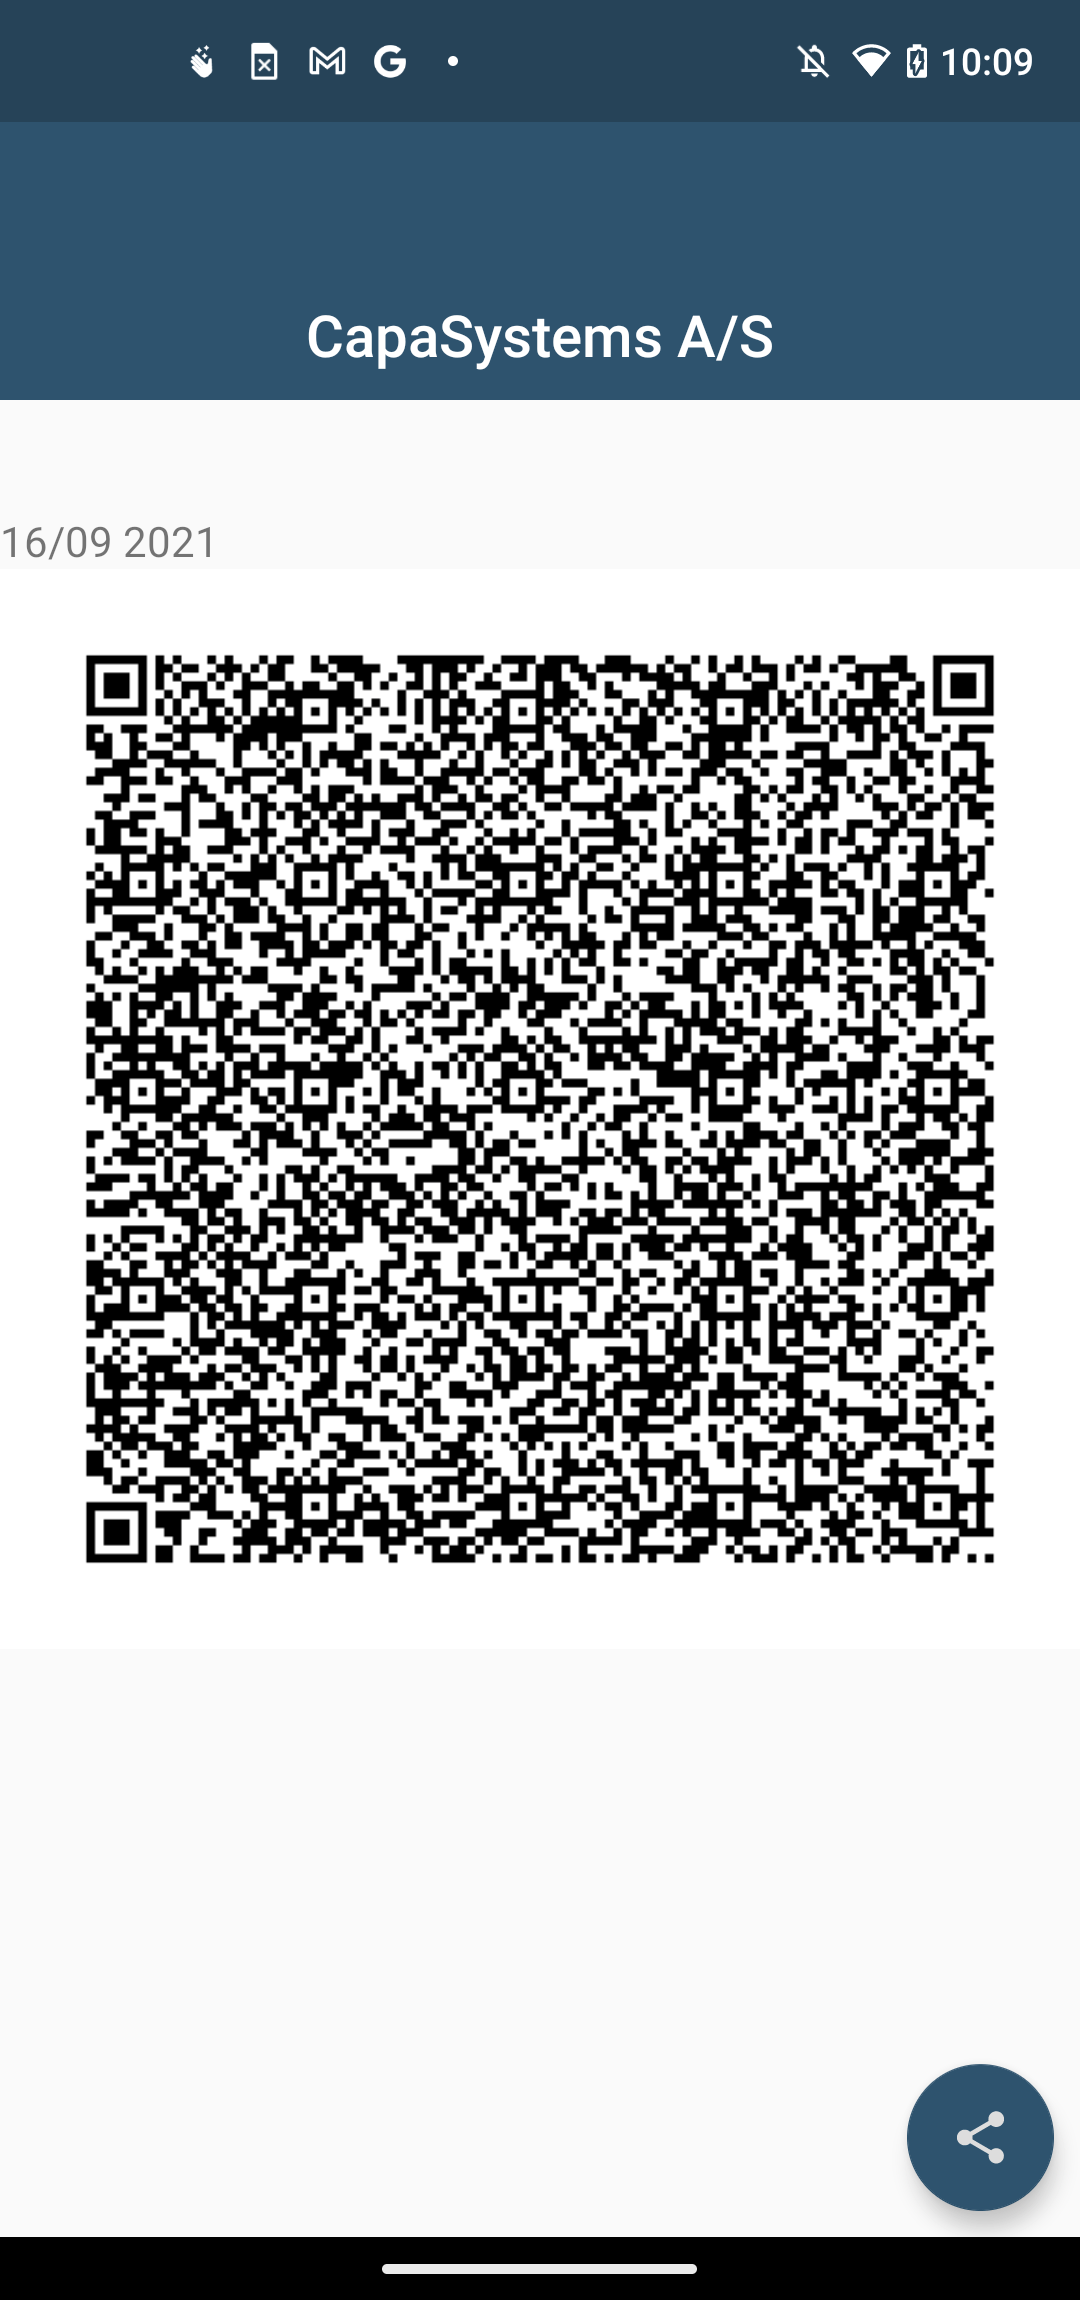 |
| 4 | - On a new or factory-reset device, tap the screen 7 times in the same spot. - The setup wizard prompts to connect to the Internet so the setup wizard can download a QR code reader. - Google Play services download a module that contains a QR code recognition engine. - Scan the QR code created in the previous step to enroll the device. |