
How to Boot OSD from USB devices
Introduction
Section titled “Introduction”This document describes the general guidelines for booting a CapaInstaller OSD environment from a USB device. This can be useful when no network boot service is available to the device that needs to be deployed with an OS from CapaInstaller OSD. Images and configurations will still be fetched from the deployment server with HTTP communication. The ports for this communication is configurable when setting up the OS Deployment Service
Requirements:
| Step | Requirements |
|---|---|
| 1 | Physical USB Key (Clean) |
| 2 | Boot.wim file |
| 3 | PS file |
| 4 | Ensure that the server is on the same network as the machine you want to USB boot from |
| 5 | Install the Windows ADK Tools with Win PE add-on see https://docs.microsoft.com/en-us/windows-hardware/get-started/adk-install |
How to create the boot.wim file:
| Step | How to |
|---|---|
| 1 | Under “OS Deployment”, right-click your OSD point: |
| 2 | Expand “Boot Image” and click “Create boot file…”  |
| 3 | Create a boot image with 32 bits or 64 bits: 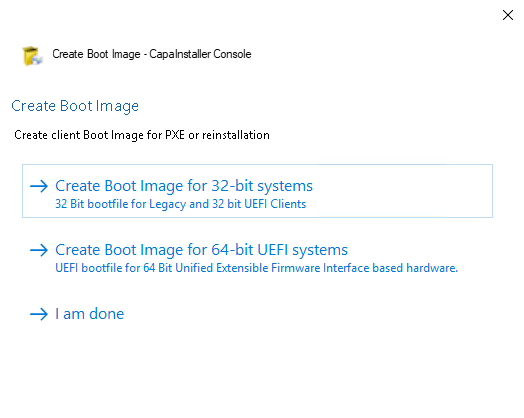 |
| 4 | Make sure you have an ADK Installation: 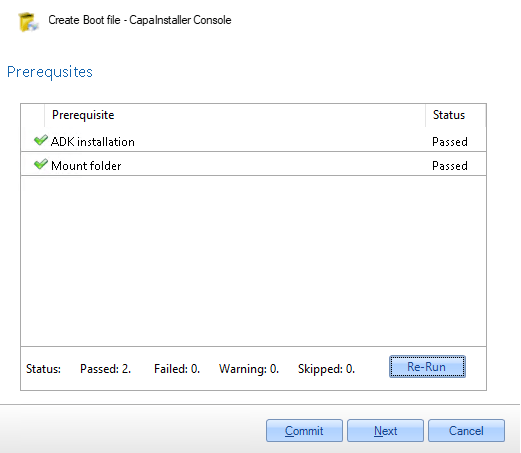 |
| 5 | Click “Next” in the next three times: 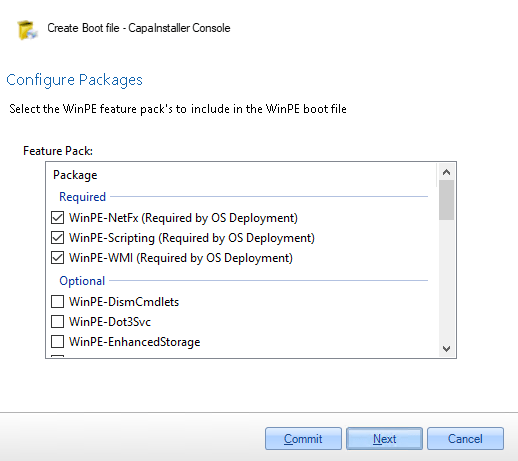 |
| 6 | Click “Commit” and now your boot file is creating: 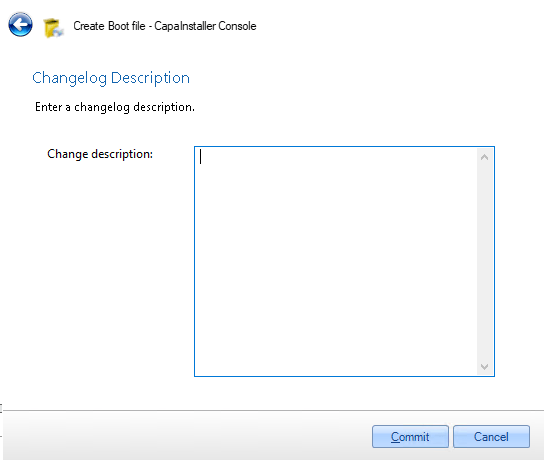 |
| 7 | 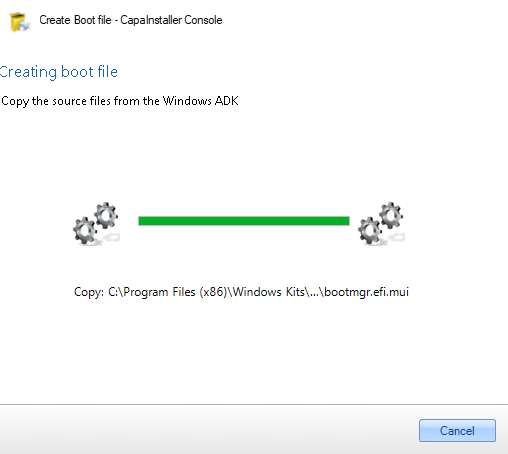 |
| 8 | Now your got your boot.wim file: 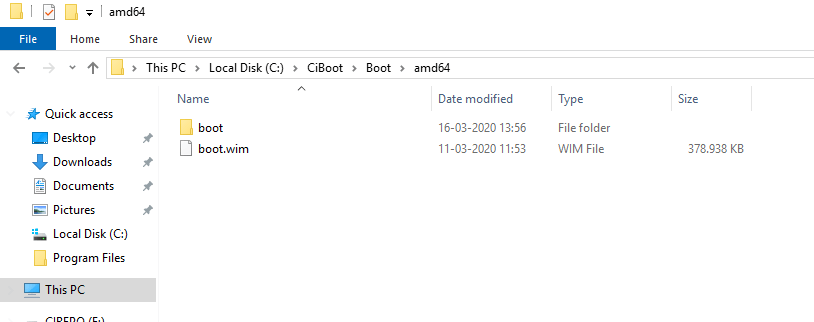 |
PowerShell Script to configure the USB-Key:
| Step | PowerShell Script: |
|---|---|
| 1 | BuildUSB.ps1 |
| 2 | Select properties on the downloaded powershell script, and verify that it’s not blocked 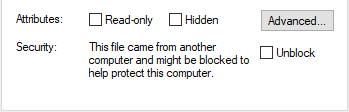 |
How-to guide:
| Step | How to |
|---|---|
Run an “Deployment and Imaging Tools Environment” prompt as Administrator  | |
| Execute the PowerShell script from the “Deployment and Imaging Tools Environment” Powershell -file c:\USBKeyCreater\BuildUSB.ps1 | |
When you have run the script, first press [A] for “Yes to All”  | |
Edit the values to match your environment 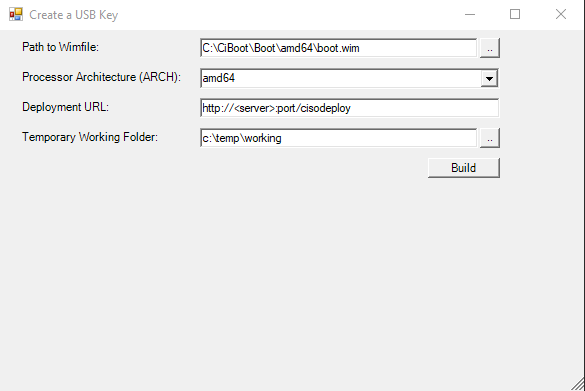 | |
When this will pop up, chose the USB key, and click “OK” in the right bottom corner 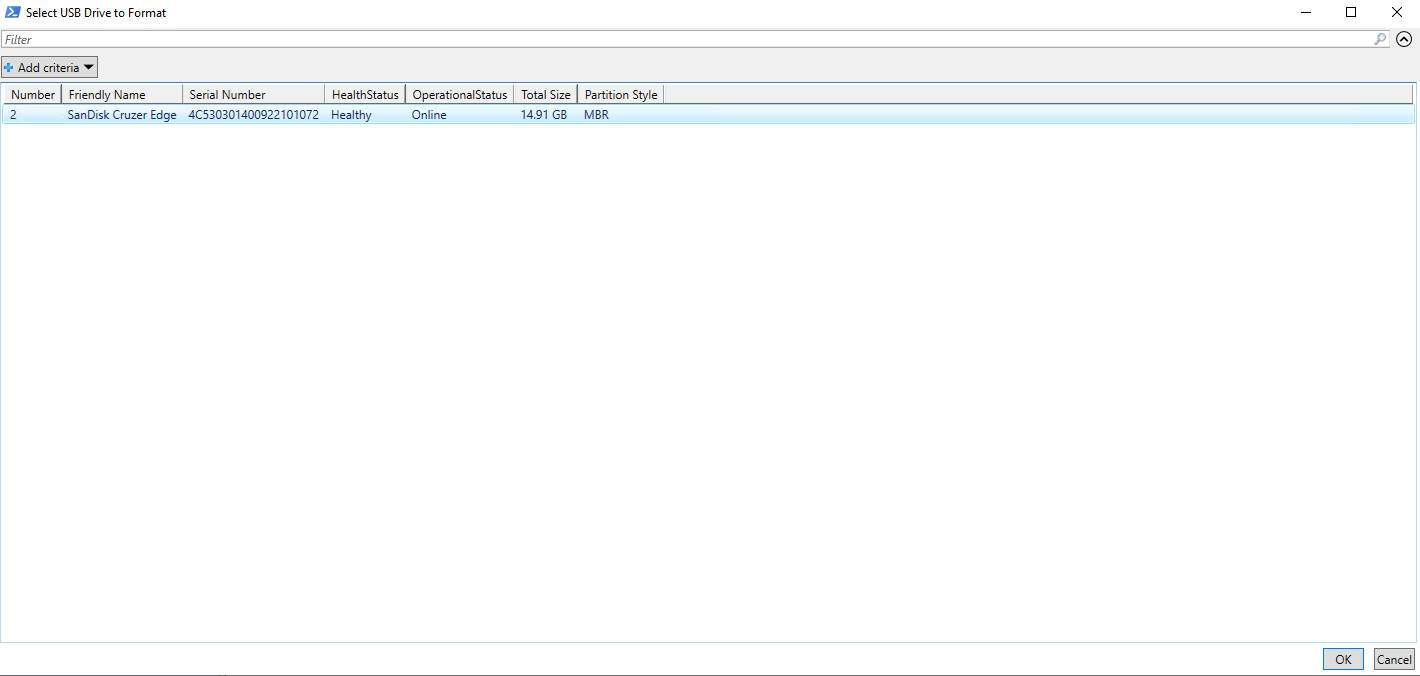 | |
When you have done that, this menu will pop up, and you need to press [Y] for “Yes”  | |
Verify that the installation has been installed successfully: 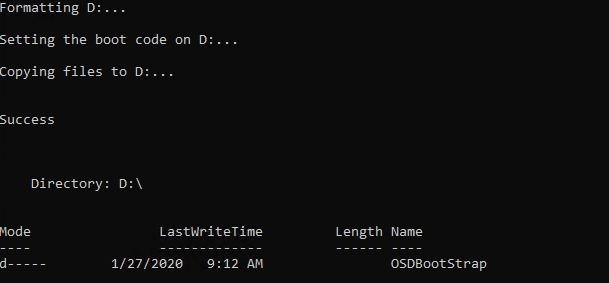 | |
Verify that the USB Key has 2 partitions - the boot files must bee on the D: partition and the E: drive must be empty:  | |
| Now you can OSD boot from your USB key |