

How to create a PowerPack
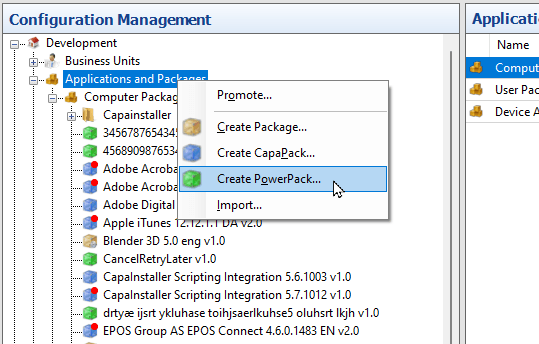
To create a PowerPack, right-click Applications and Packages in the root Configuration Management Point of your installation and select Create PowerPack…. You need administrator rights for packages on the point.
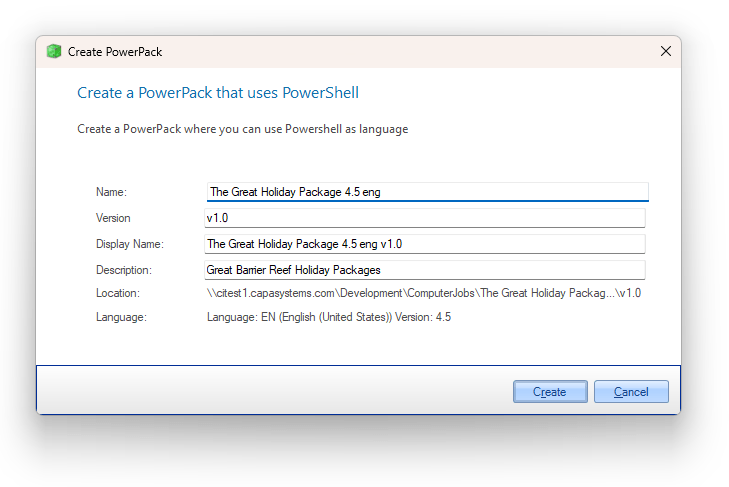
In the Create PowerPack dialog, enter a Name, and optionally change the Version (default v1.0) and enter a Description. The Display Name is automatically set to the name followed by the version. You can edit the display name manually. When you are done, click Create.
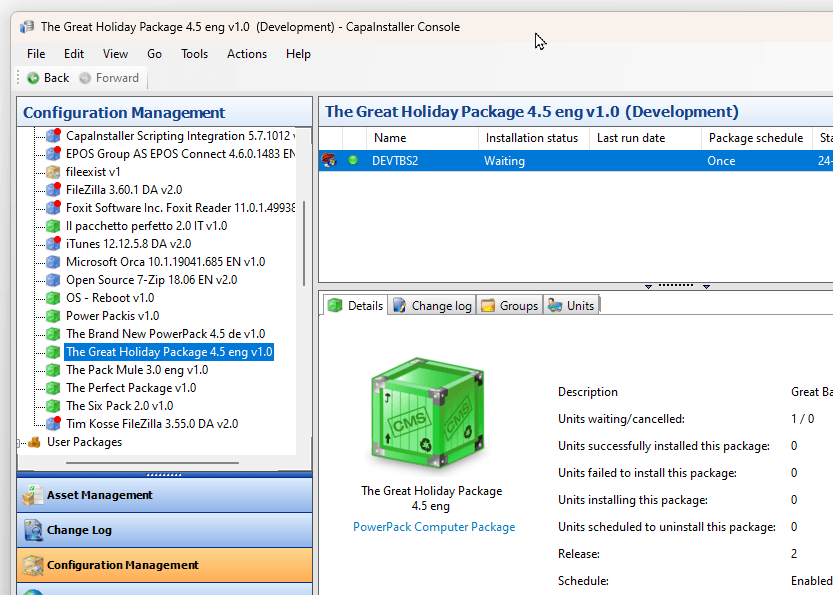
The package is created in the ComputerJobs\<name>\<version> folder on the point share, with basic install and uninstall script templates that you can edit. The new PowerPack is shown in the console with a green package icon, in the same way that CapaPacks are shown with a blue icon.
The package folder
Section titled “The package folder”Right-click the PowerPack and choose Open folder in Windows Explorer to see its files on disk. A PowerPack folder contains three subfolders:
| Folder | Contents |
|---|---|
Kit |
The files the package needs at install/uninstall time (installers, configs, etc.) — reference them from your script via $global:Packageroot\kit\.... Whenever you add or change a file here, right-click the package and choose Rebuild CapaInstaller.kit so the change is picked up. |
Scripts |
Always empty — the install/uninstall scripts themselves live in the SQL database, not on disk. See Editing installation scripts. |
Zip |
The built CapaInstaller.kit — this is what actually gets downloaded to clients and unzipped to reconstruct the Kit folder contents. It’s regenerated whenever you rebuild the kit. |