

USB Key Deployment
Create a bootable USB key to provision devices when PXE network boot is not available — for example, remote devices with no managed endpoint on their subnet. The USB key only boots the device into the CapaOne provisioning environment; the installation itself is still delivered from the cloud, so the provisioning flow is the same as with PXE.
1. Download the ISO
Section titled “1. Download the ISO”-
Navigate to Windows → Provision → Provision Points.
-
Click New and select Deploy Using USB Key.
-
Download the ISO matching the target device’s architecture: x64 or ARM64.
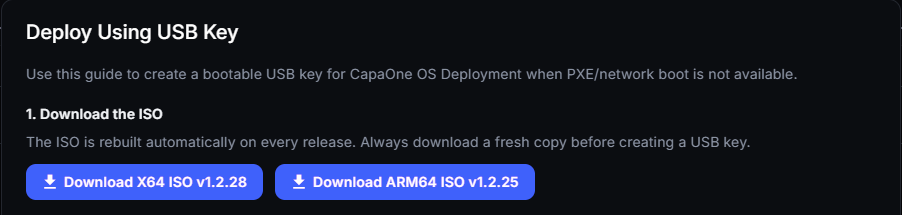
The ISO is rebuilt automatically on every CapaOne release. Always download a fresh copy before creating a USB key, so the embedded provisioning client and configuration are current.
2. Write the ISO to the USB key
Section titled “2. Write the ISO to the USB key”-
Open Rufus and insert the USB key.
-
Configure the following settings:
Setting Value Device Your USB key Boot selection Click SELECT and browse to the downloaded .isofilePartition scheme GPT Target system UEFI (non CSM) File system FAT32 -
Click START.
-
When warned that all data on the USB key will be destroyed, click OK.
-
Wait for Rufus to finish. This usually takes 1–3 minutes.
3. Boot the device from the USB key
Section titled “3. Boot the device from the USB key”- Insert the USB key into the target device.
- Power on and enter the boot menu — typically F12, F11, or ESC.
- Select the USB key as the boot device. Look for the UEFI: prefix, for example UEFI: <USB name>.
The CapaOne provisioning environment starts automatically.
What happens after boot
Section titled “What happens after boot”- The provisioning environment installs any required network and storage drivers and initializes the network.
- It reads its configuration from the
CO\capaoneapi.jsonfile embedded in the ISO. - It connects to the CapaOne API and downloads the deployment client.
- It displays a QR code. Scan it with a phone, sign in to CapaOne, and select an organization and an enrollment configuration. The provisioning template linked to the enrollment configuration is used.
Installation then runs unattended, and you can follow it under Windows → Provision → In Progress.