

Getting Started with Provision Manager
This walkthrough takes you from nothing to a provisioned Windows device: set up a template, start a provision point, boot the target device, and follow the installation to completion.
1. Set up a provisioning template
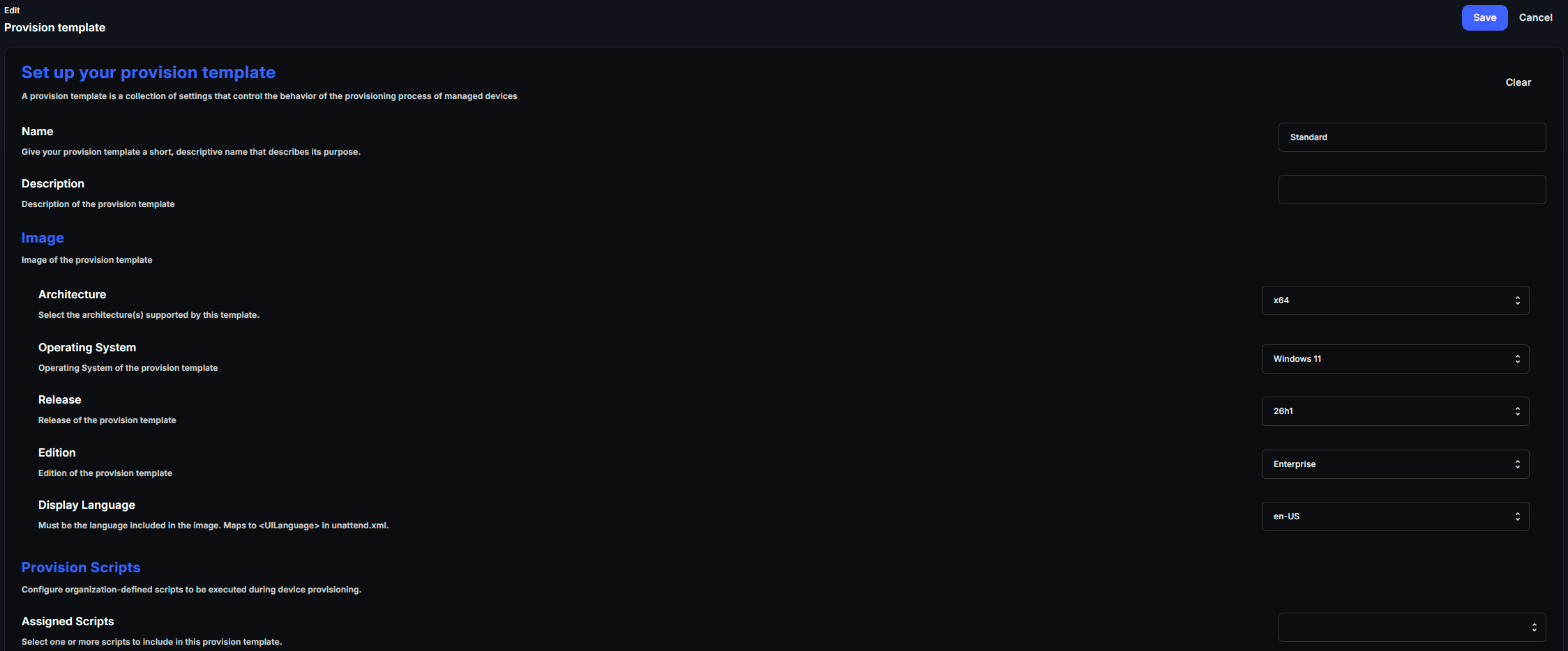
Section titled “1. Set up a provisioning template”A provisioning template controls the OS installation: which Windows image is installed, the installation settings, and any scripts that run during provisioning. To simplify your initial setup, start with the default template.
See Provisioning Templates for every setting.
2. Set up an enrollment configuration
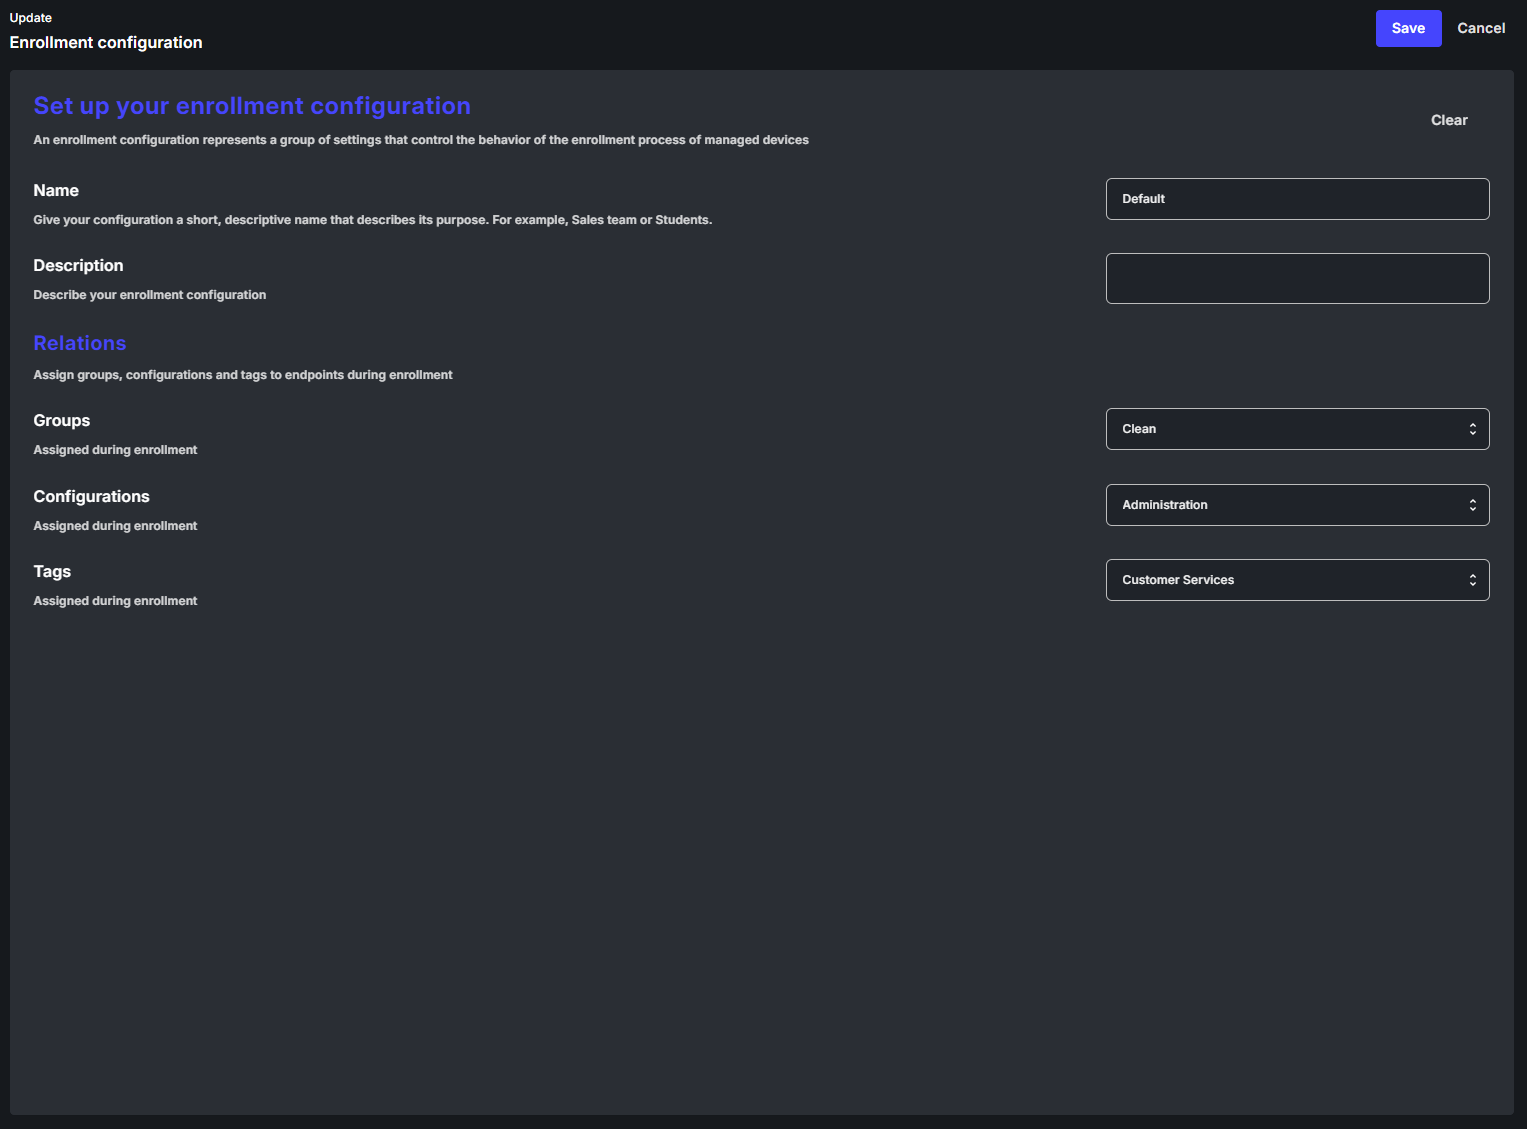
Section titled “2. Set up an enrollment configuration”An enrollment configuration dictates how the device is set up in CapaOne after the operating system is installed. Go to Windows → Enrollment, create or edit an enrollment configuration, and select your template under Provision → Provision Template. Only enrollment configurations with a linked template can be selected when you provision a device. See Windows Enrollment.
3. Start a provision point
Section titled “3. Start a provision point”The PXE server role runs on an existing managed endpoint:
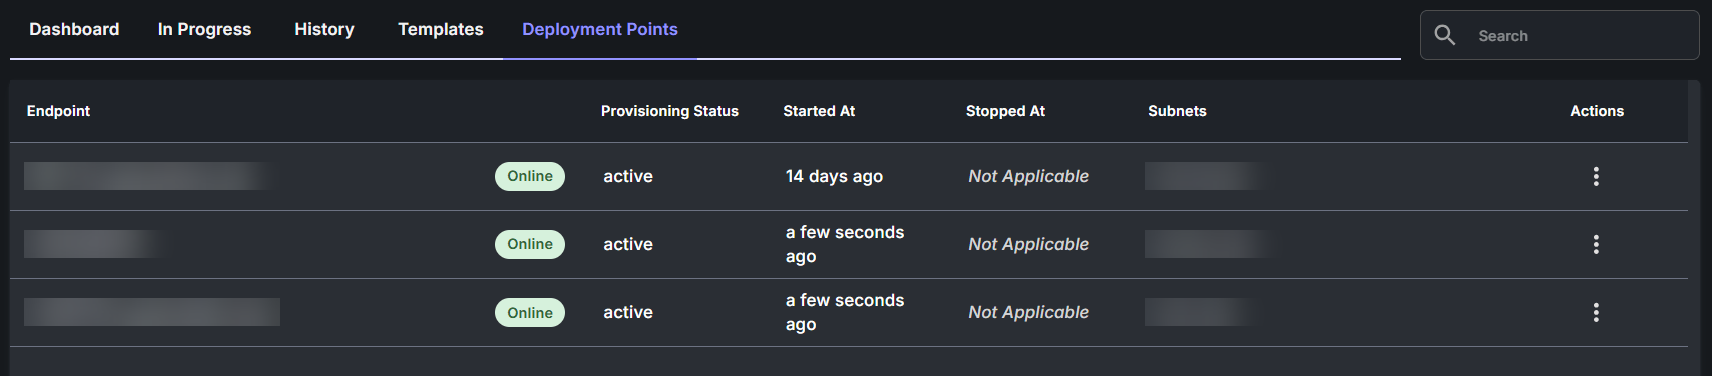
- Navigate to Windows → Provision → Provision Points.
- Click New and select Start New PXE Server.
- Select an online device on the same subnet as the devices you want to provision.
- Click Start PXE.
The PXE server stops automatically after 30 minutes. For details, including the Always On option and stopping a server, see Provision Points.
4. Provision a device
Section titled “4. Provision a device”- Power on the device you want to provision and press F12 to open the boot menu.
- Select network boot. The CapaOne provisioning environment loads.
- Scan the on-screen QR code with a mobile device.
- Sign in to CapaOne on the mobile device.
- Select an organization.
- Select an enrollment configuration. The provisioning template linked to the enrollment configuration decides how Windows is installed. If CapaOne has no compatible driver package for the device model, a No compatible drivers message appears. Click Continue to provision the device without a driver package, or Cancel.
- In the Device Name dialog, check or change the device name, then click Enroll. CapaOne
suggests the device’s previous name if it recognizes the hardware, or otherwise its
motherboard serial number. The name can have up to 15 characters, no spaces, and none of these characters:
. \ / : * ? " < > |
Provisioning continues unattended on the booted device. Windows is installed, and drivers matched to the hardware model are installed during deployment.
5. Follow the installation
Section titled “5. Follow the installation”-
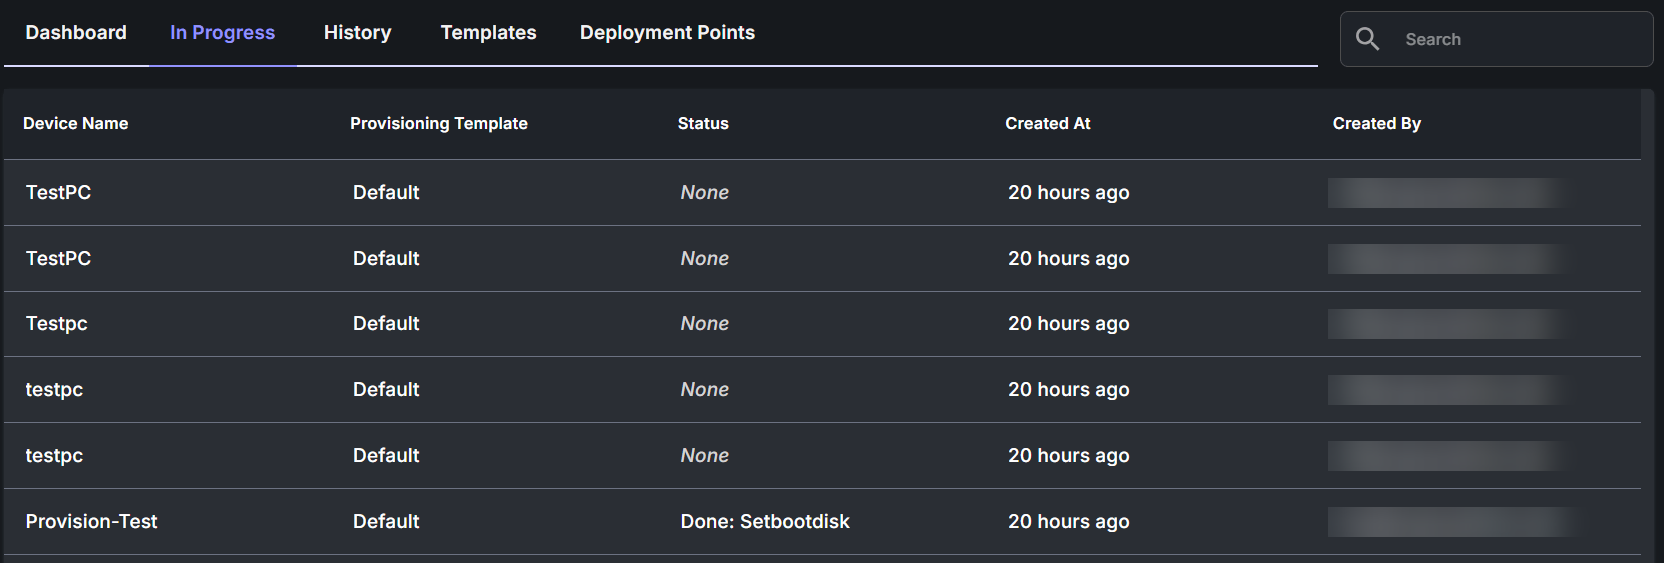
Windows → Provision → In Progress shows devices currently being provisioned. A device appears after it has been assigned an organization and an enrollment configuration.
-
Windows → Provision → History lists completed installations with a detailed log file per device. Open a device’s menu and select View Logs or Download Logs. History logs are deleted automatically after a few months.

When provisioning completes, the device is enrolled in CapaOne according to the enrollment configuration you selected.