

Create a Privilege Manager Configuration
A Privileges configuration controls who can run applications with elevated rights, which applications they can elevate, and whether they can elevate their whole Windows session. This page shows you how to create one and assign it to endpoints.
Create the configuration
Section titled “Create the configuration”- Go to Windows → Configurations.
- Select the Privileges tab.
- Click New. If you’re asked for a configuration type, select Privileges.
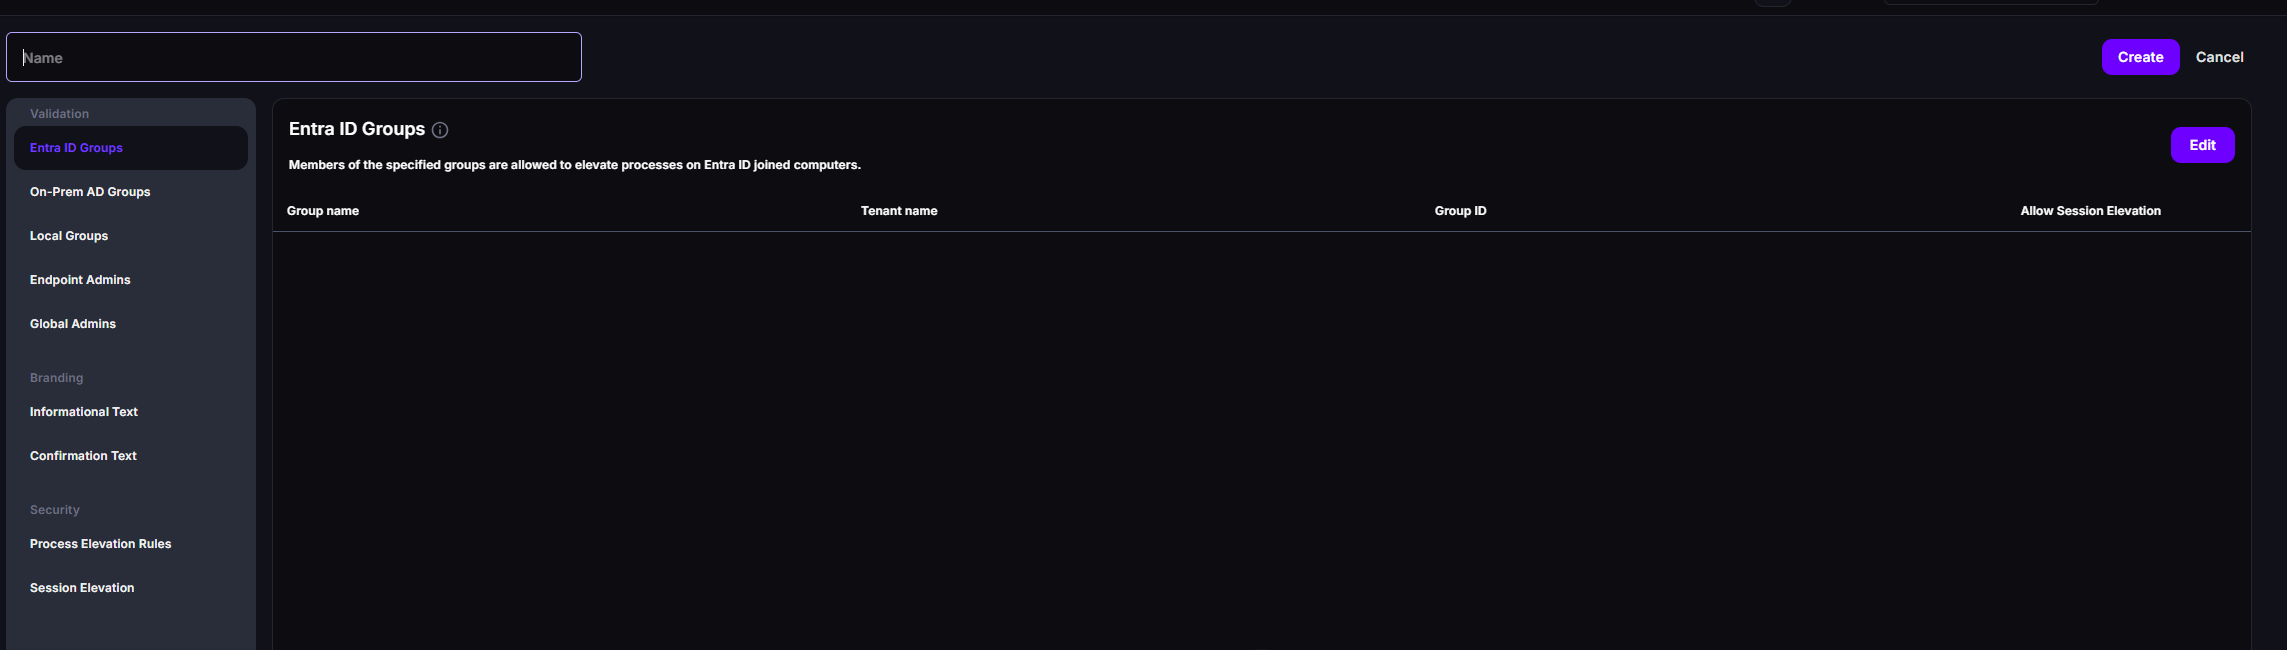
- Enter a name for the configuration. The name must be unique and can’t contain special characters.
- Under Validation, add at least one way to identify the users who are allowed to elevate.
You can combine several methods:
- Entra ID Groups
- On-Prem AD Groups
- Local Groups
- Endpoint Admins
- Global Admins
- Optional: under Branding, adjust the Informational Text and Confirmation Text that users see before a process is elevated.
- Optional: under Security, add Process Elevation Rules to control which applications users can elevate.
- Optional: under Security → Session Elevation, turn on session elevation or hide the built-in Run as administrator menu item.
- Click Create.
The configuration appears in the list on the Privileges tab.
For a description of every setting, see Privilege Manager Configuration Settings.
Assign the configuration
Section titled “Assign the configuration”A configuration has no effect until it’s assigned.
- On the Privileges tab, click the options menu (⋮) next to the configuration.
- Select Assignment, and then choose one of the following:
- Direct to assign the configuration to individual endpoints.
- Groups to assign it to groups of endpoints.
- Click Assign, and move the endpoints or groups from Available to Assigned. See Assign a configuration.
The endpoints receive the configuration the next time they communicate with CapaOne. Users on
those endpoints can now right-click an .exe or .msi file and select
Run with Admin Privileges.
If an endpoint is covered by more than one Privileges configuration, the configuration with the highest priority applies. See Configuration Priority.
Edit the configuration
Section titled “Edit the configuration”- On the Privileges tab, click the options menu (⋮) next to the configuration.
- Select Edit.
- Make your changes, and then click Save to stay on the page or Save and close to return to the list.
If a user still can’t elevate after a change, ask them to sign out of Windows and sign in again.