
Setup Intune Permissions for CustomApps Upload
To upload a CapaOne CustomApp to Intune, you will need to set up the required permissions in Intune. In this guide, we will show you how to achieve this.
Before you get started
Section titled “Before you get started”Make sure you have an Azure AD Integration setup in Intune and CapaOne. If not, you can follow this guide on how to set up the Integration: Integrate CapaOne with Entra ID
Configure Intune Permissions
Section titled “Configure Intune Permissions”-
Log in to the Azure Portal
- Navigate to https://portal.azure.com/ and log in to your account.
-
Navigate to App Registrations
- In the left menu, select Azure Active Directory
- Click on App registrations
-
Select or Create an Application
- Choose an existing app registration, or
- Click New registration to create a new app

-
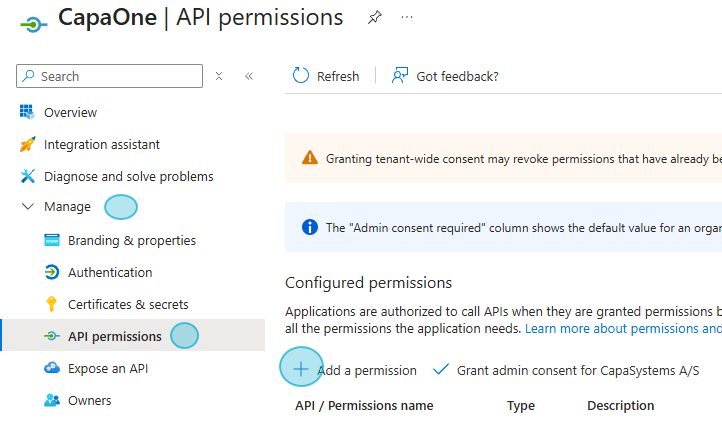
Configure API Permissions
- In your app registration, go to Manage > API permissions
- Click Add a permission
-
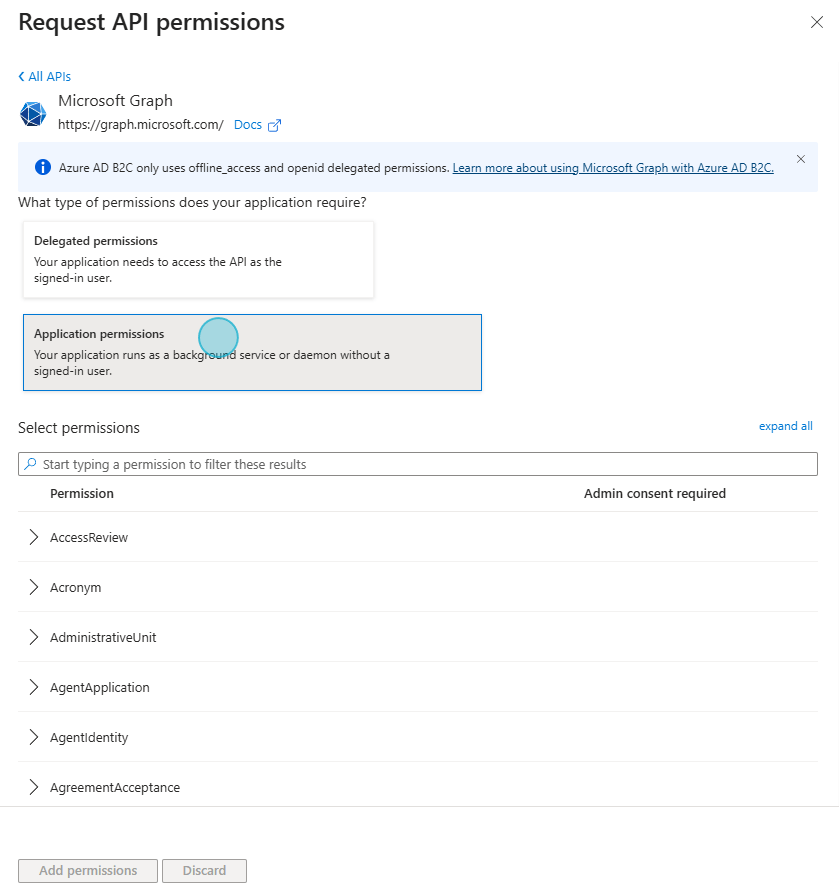
Add Required Intune Permissions
-
Select Microsoft Graph
-
Choose Application permissions
-
Search for and add the following permissions:
Organization.Read.AllDeviceManagementApps.ReadWrite.AllDeviceManagementConfiguration.ReadWrite.AllDeviceManagementServiceConfig.ReadWrite.All
-
-
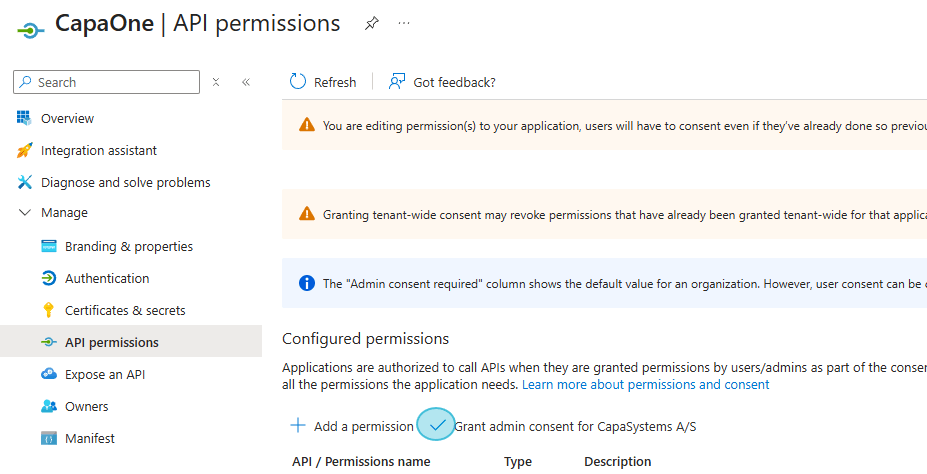
Grant Admin Consent
- After adding permissions, click Grant admin consent for your organization.
-
Verify Permissions
- Ensure the permissions are listed and show as “Granted for [Your Organization]“
Your App Permissions Should look like this
Section titled “Your App Permissions Should look like this”
Additional Resources
Section titled “Additional Resources”